As an Amazon Associate, we earn from qualifying purchases. Some links on this site are affiliate links at no extra cost to you. Our recommendations are based on thorough research and editorial judgment.
Daily Toilet Cleaning Steps for Spotless Results
flush, wipe the seat and handle, maybe a spritz of disinfectant. Stick with it and you’ll spot the difference—or rather, you won’t spot much of anything, which is the whole point.
Key Takeaways
- Flush after each use and disinfect the seat and handle with a wipe to prevent buildup.
- Apply toilet cleaner under the rim and let it sit 10–15 minutes before scrubbing thoroughly.
- Scrub in circular motions focusing on the waterline, trapway, and curved drain where stains collect.
- Spray disinfectant on all touch points and allow 5–10 minutes dwell time for effective microbial kill.
- Use enzyme cleaners or citric acid to dissolve hard water mineral deposits without scratching porcelain.
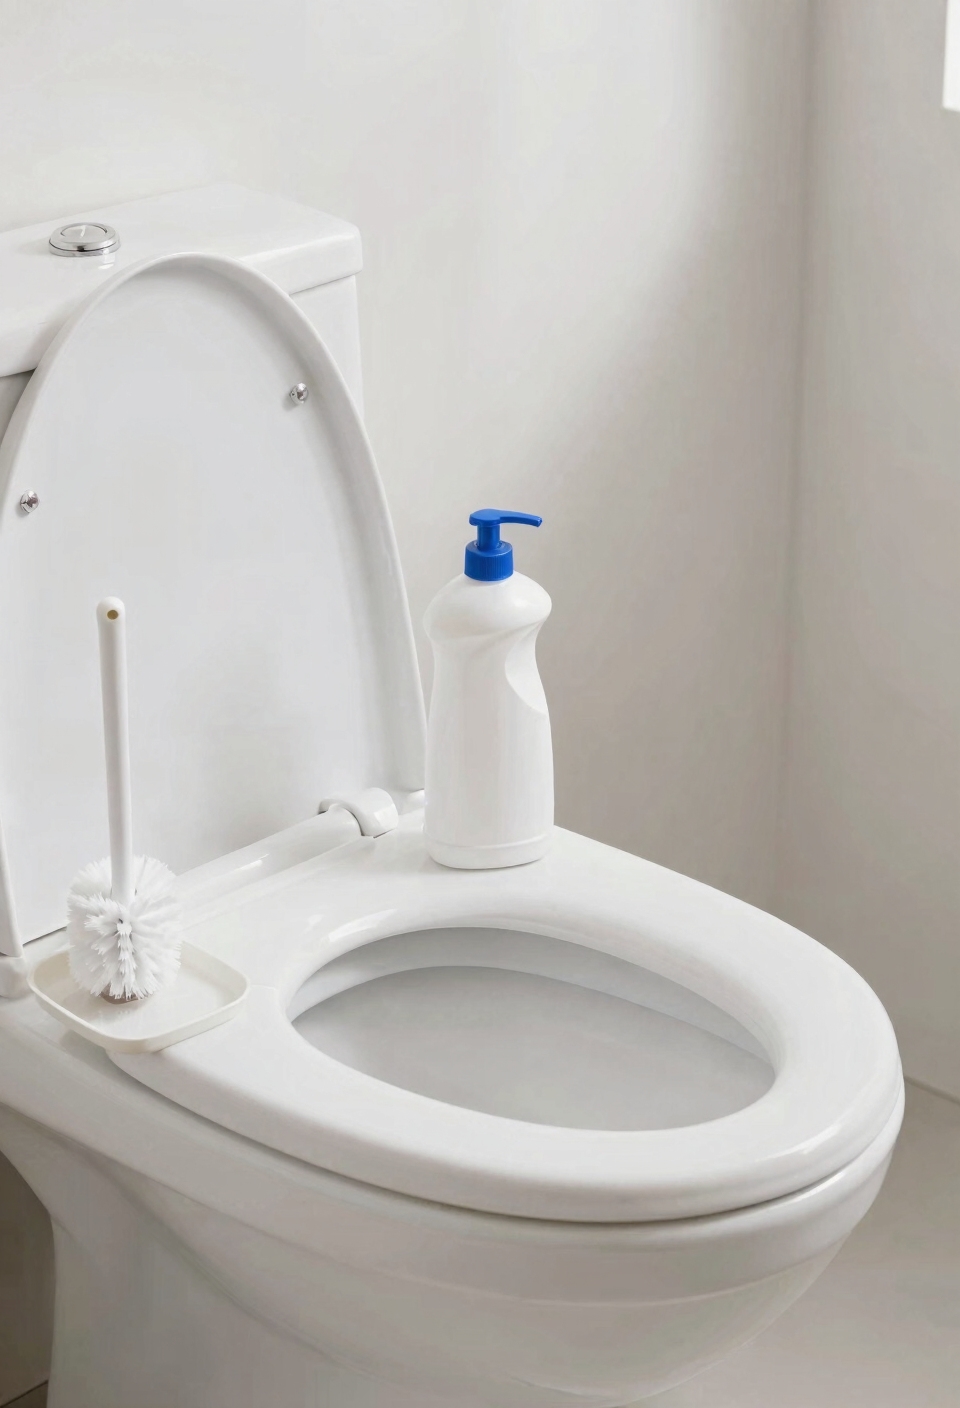
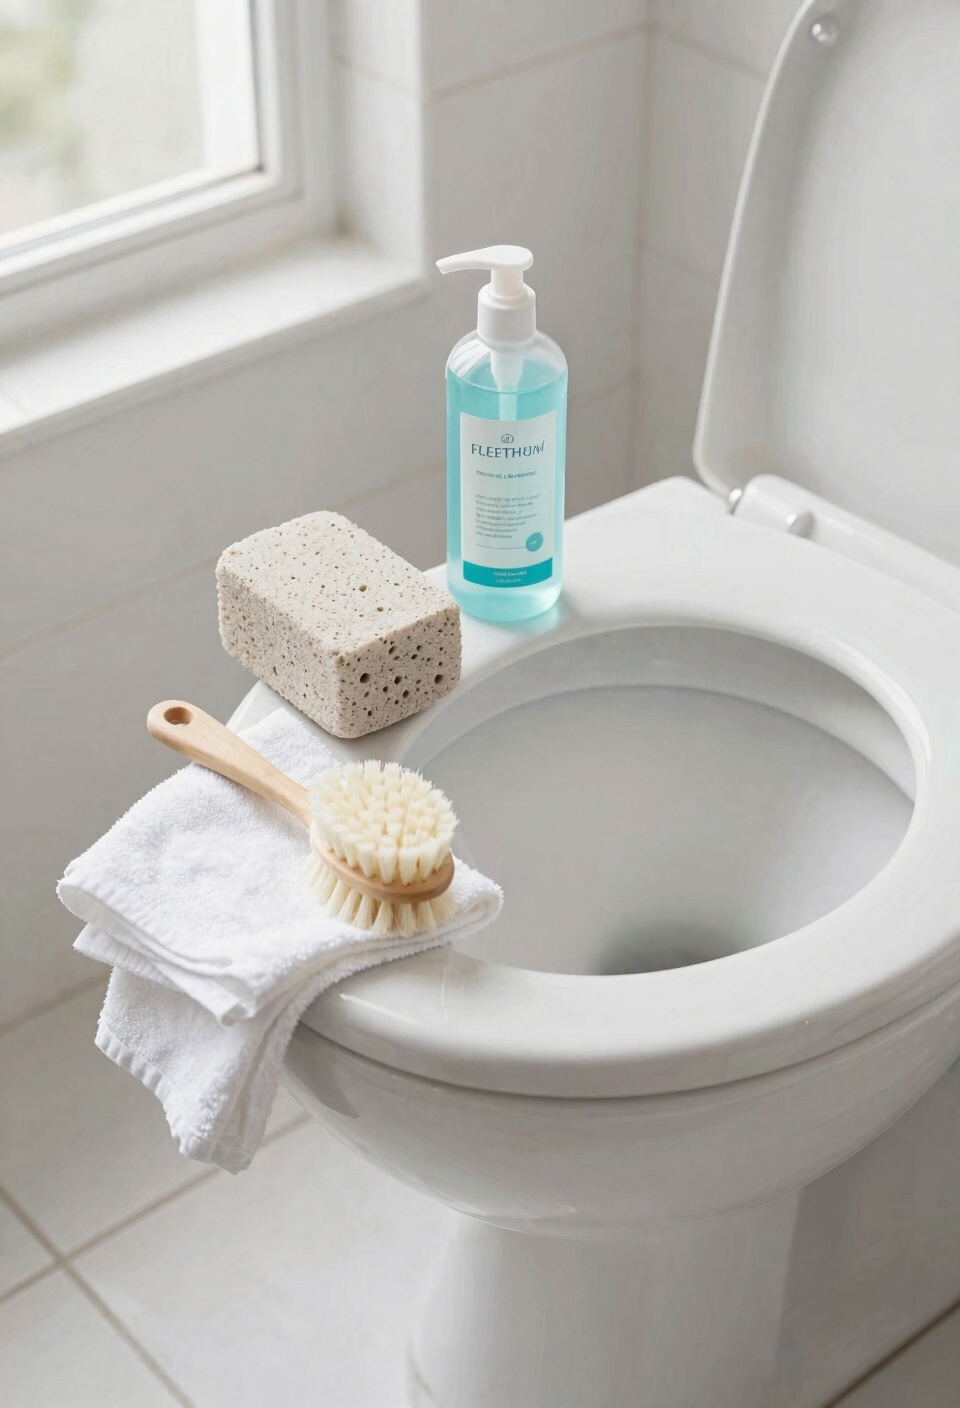
Prep Your Space: Gather Tools and Clear Obstacles
You may be interested
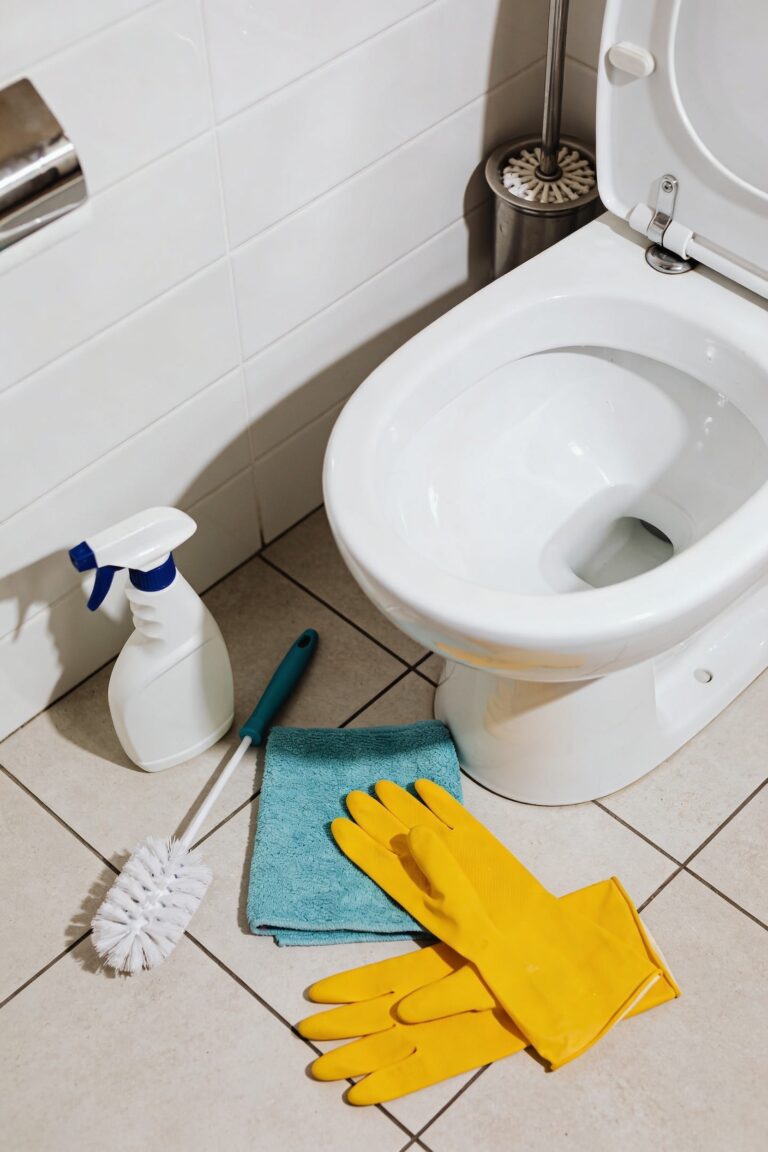
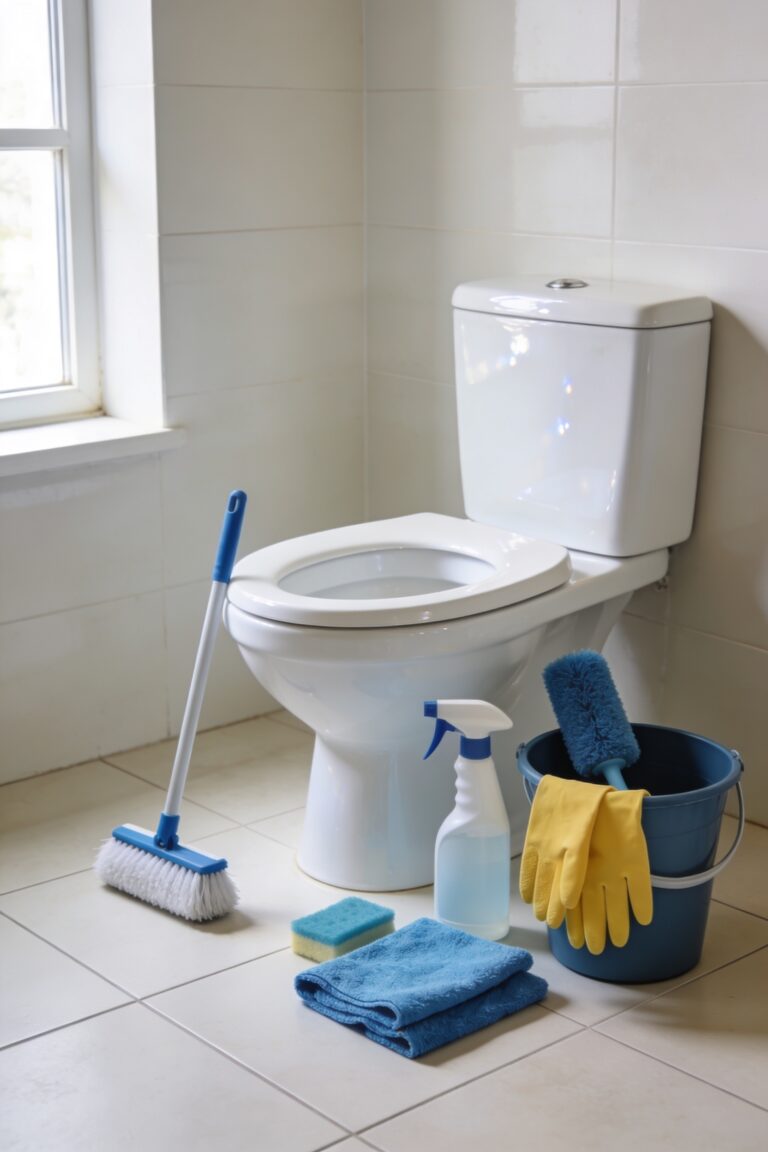
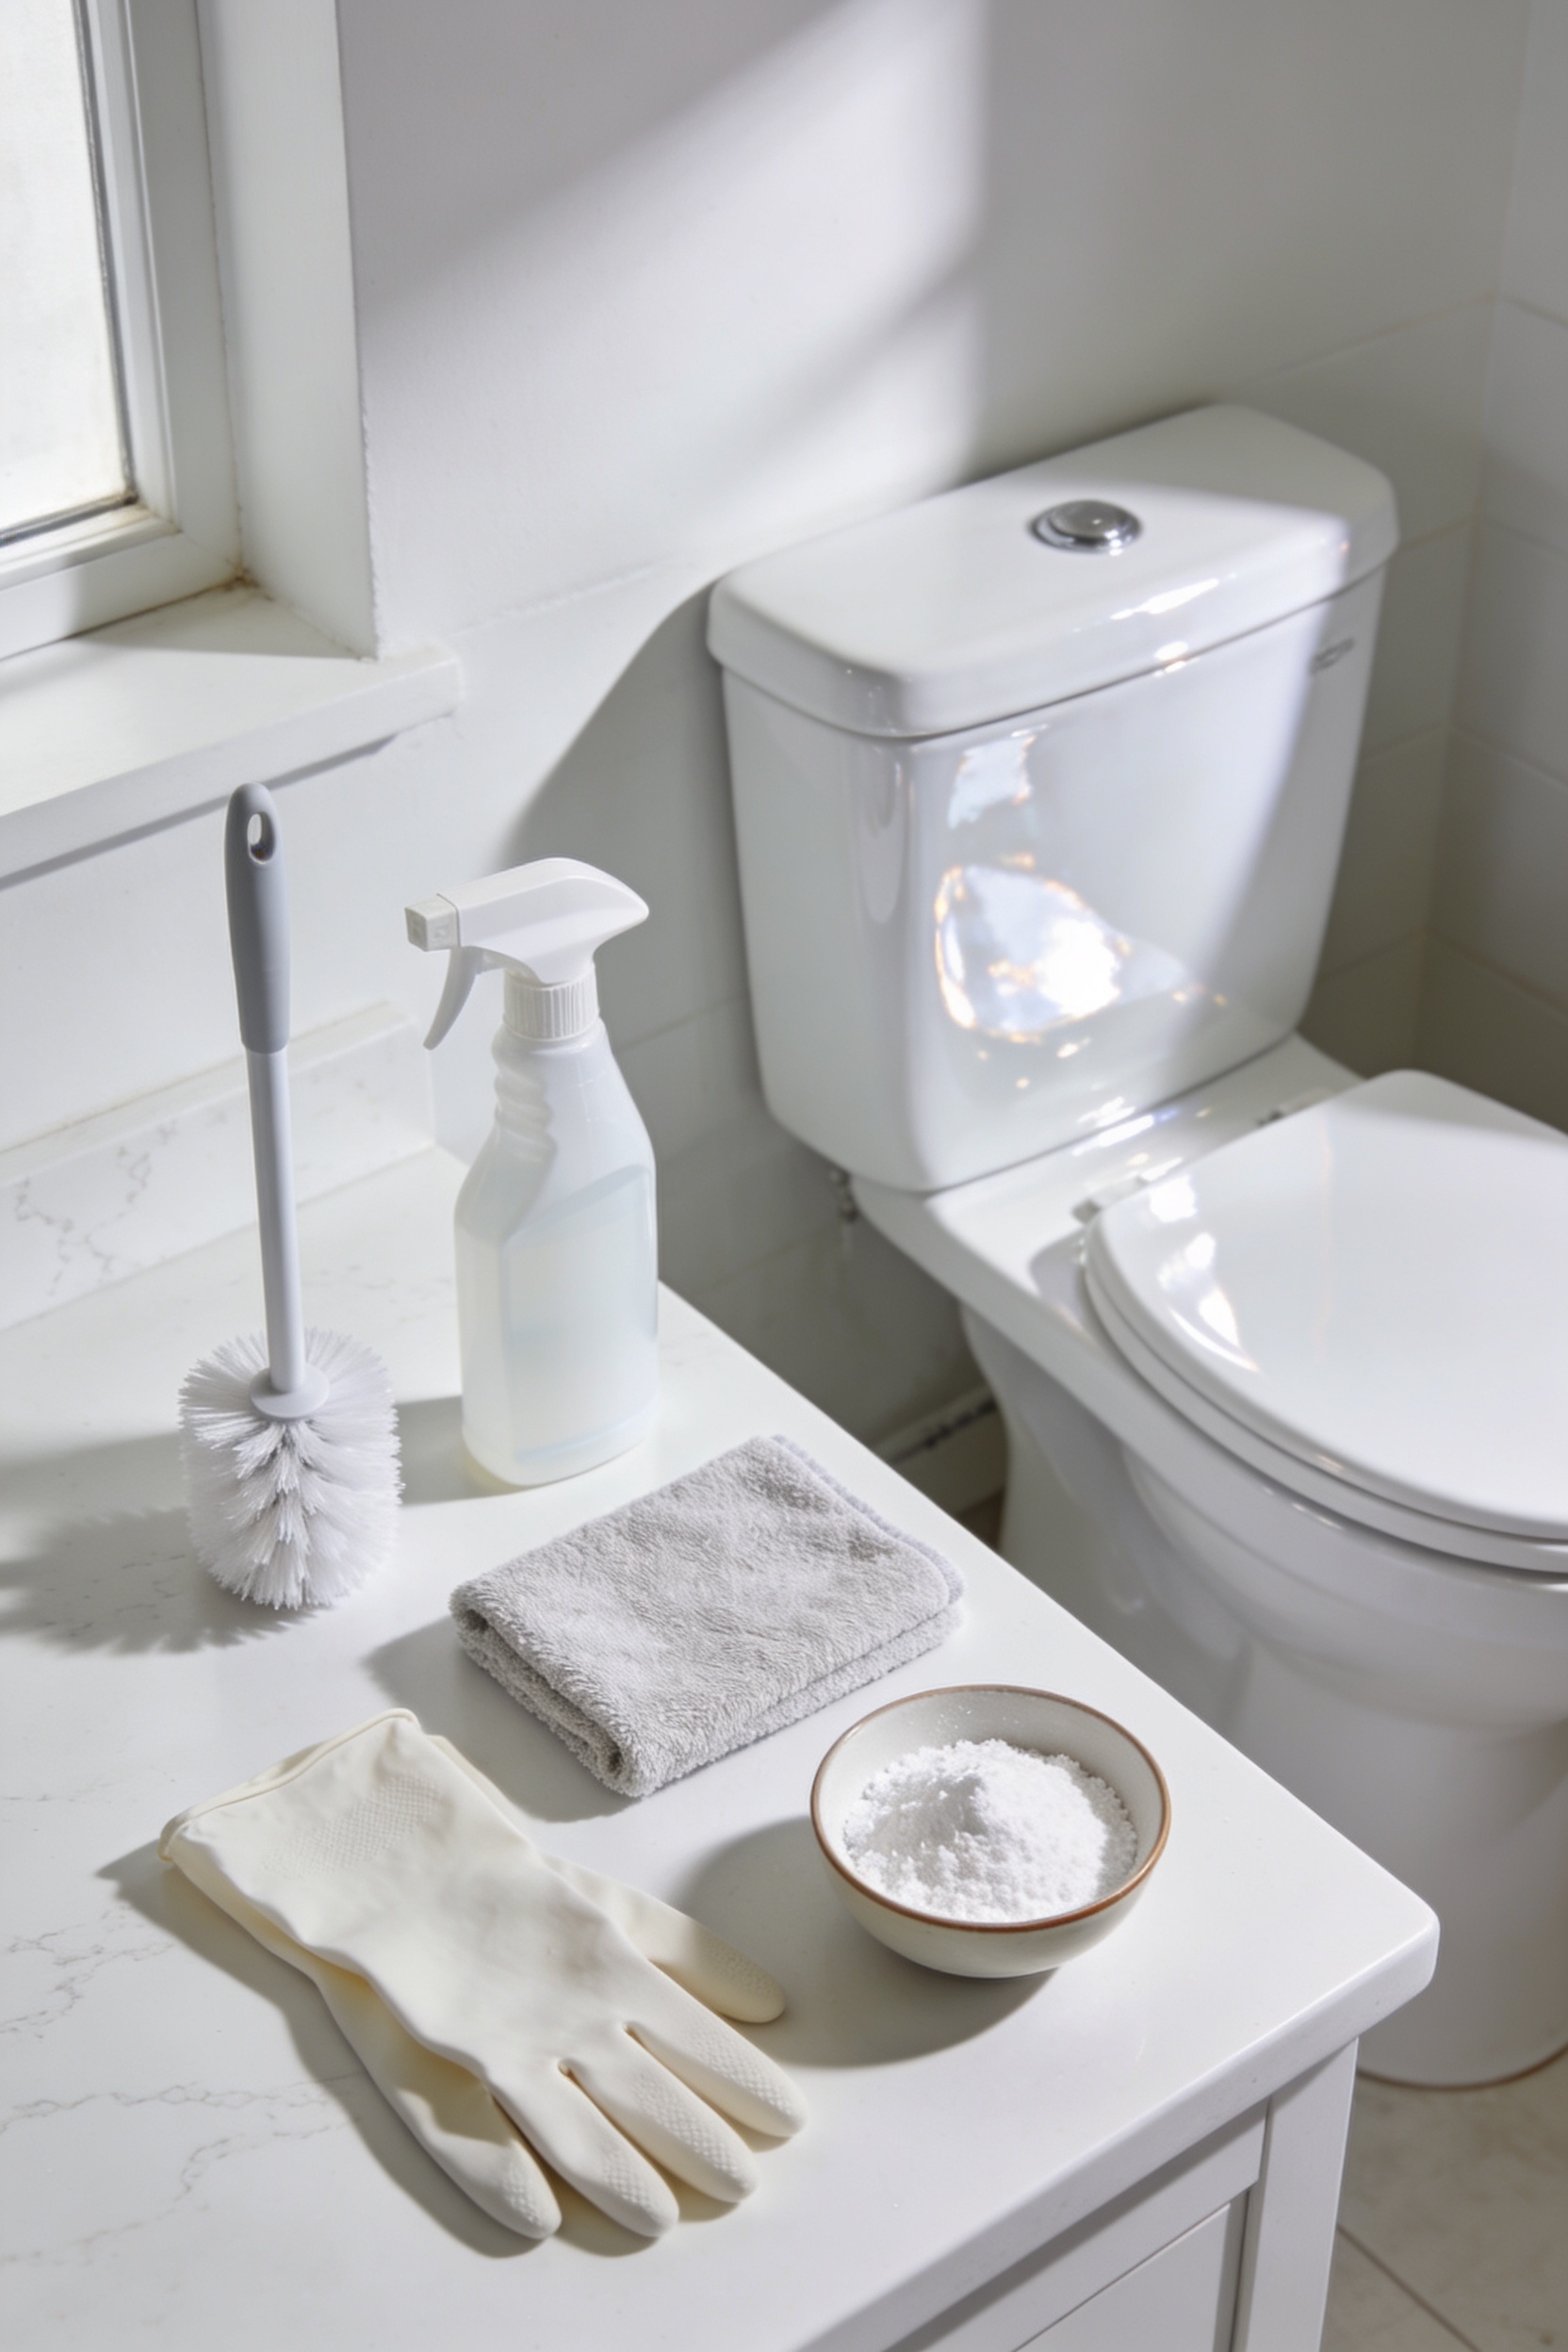
Before you even think about cracking open that toilet cleaner bottle, you’ve got to do some basic groundwork—and I mean this literally, since you’re about to splash caustic chemicals around your bathroom. First, I organize supplies: grab your toilet brush, gloves, microfiber cloths, and paper towels. Seriously, have everything within arm’s reach because hunting for supplies mid-clean is annoying. Next, clear pathways around the toilet. Move rugs, baskets, and bins away from your splashing range—I’ve definitely learned this the hard way. Dust the toilet surfaces to remove loose debris, then flush to dislodge whatever else is hanging around in there. Turn off the water supply if you’re planning tank work. Consider investing in a toilet brush with caddy to keep your cleaning tool organized, hygienic, and ready for action. Now you’re ready. Your space is prepped, your supplies are organized, and you’re not about to ruin your bathroom rug.
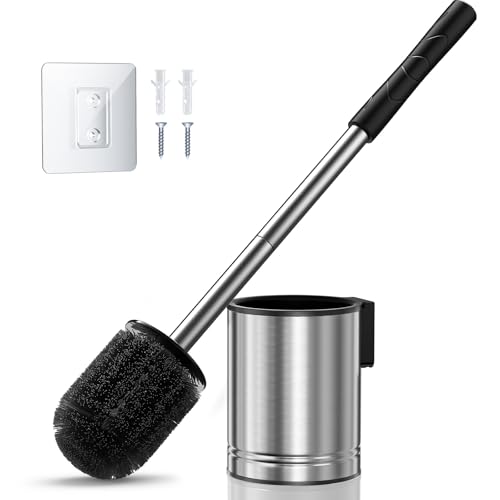
Recommended Products

SLEEK MODERN DESIGN: Decorative but functional, our toilet brush is a bathroom toilet bowl brush unlike any other toilet cleaning brush. Flaunting a fancy vintage-inspired design, it serves as an elegant decoration. What's more, the holder keeps the brush head out of view! And you won't feel embarrassed when customers using your toilet.

AUTOMATIC DESIGN: Toilet cleaner brush with the design of automatic opening and closing of the lid, when not in use, the brush head can be hidden, when in use the toilet scrubber brush, the lid is automatically opened

TOILET BRUSH SET: Transform your bathroom routine with this bathroom toilet brush and holder set; the 10.25" long toilet bowl brush features fibers made from recycled water bottles, offering a sustainable solution without compromising on performance
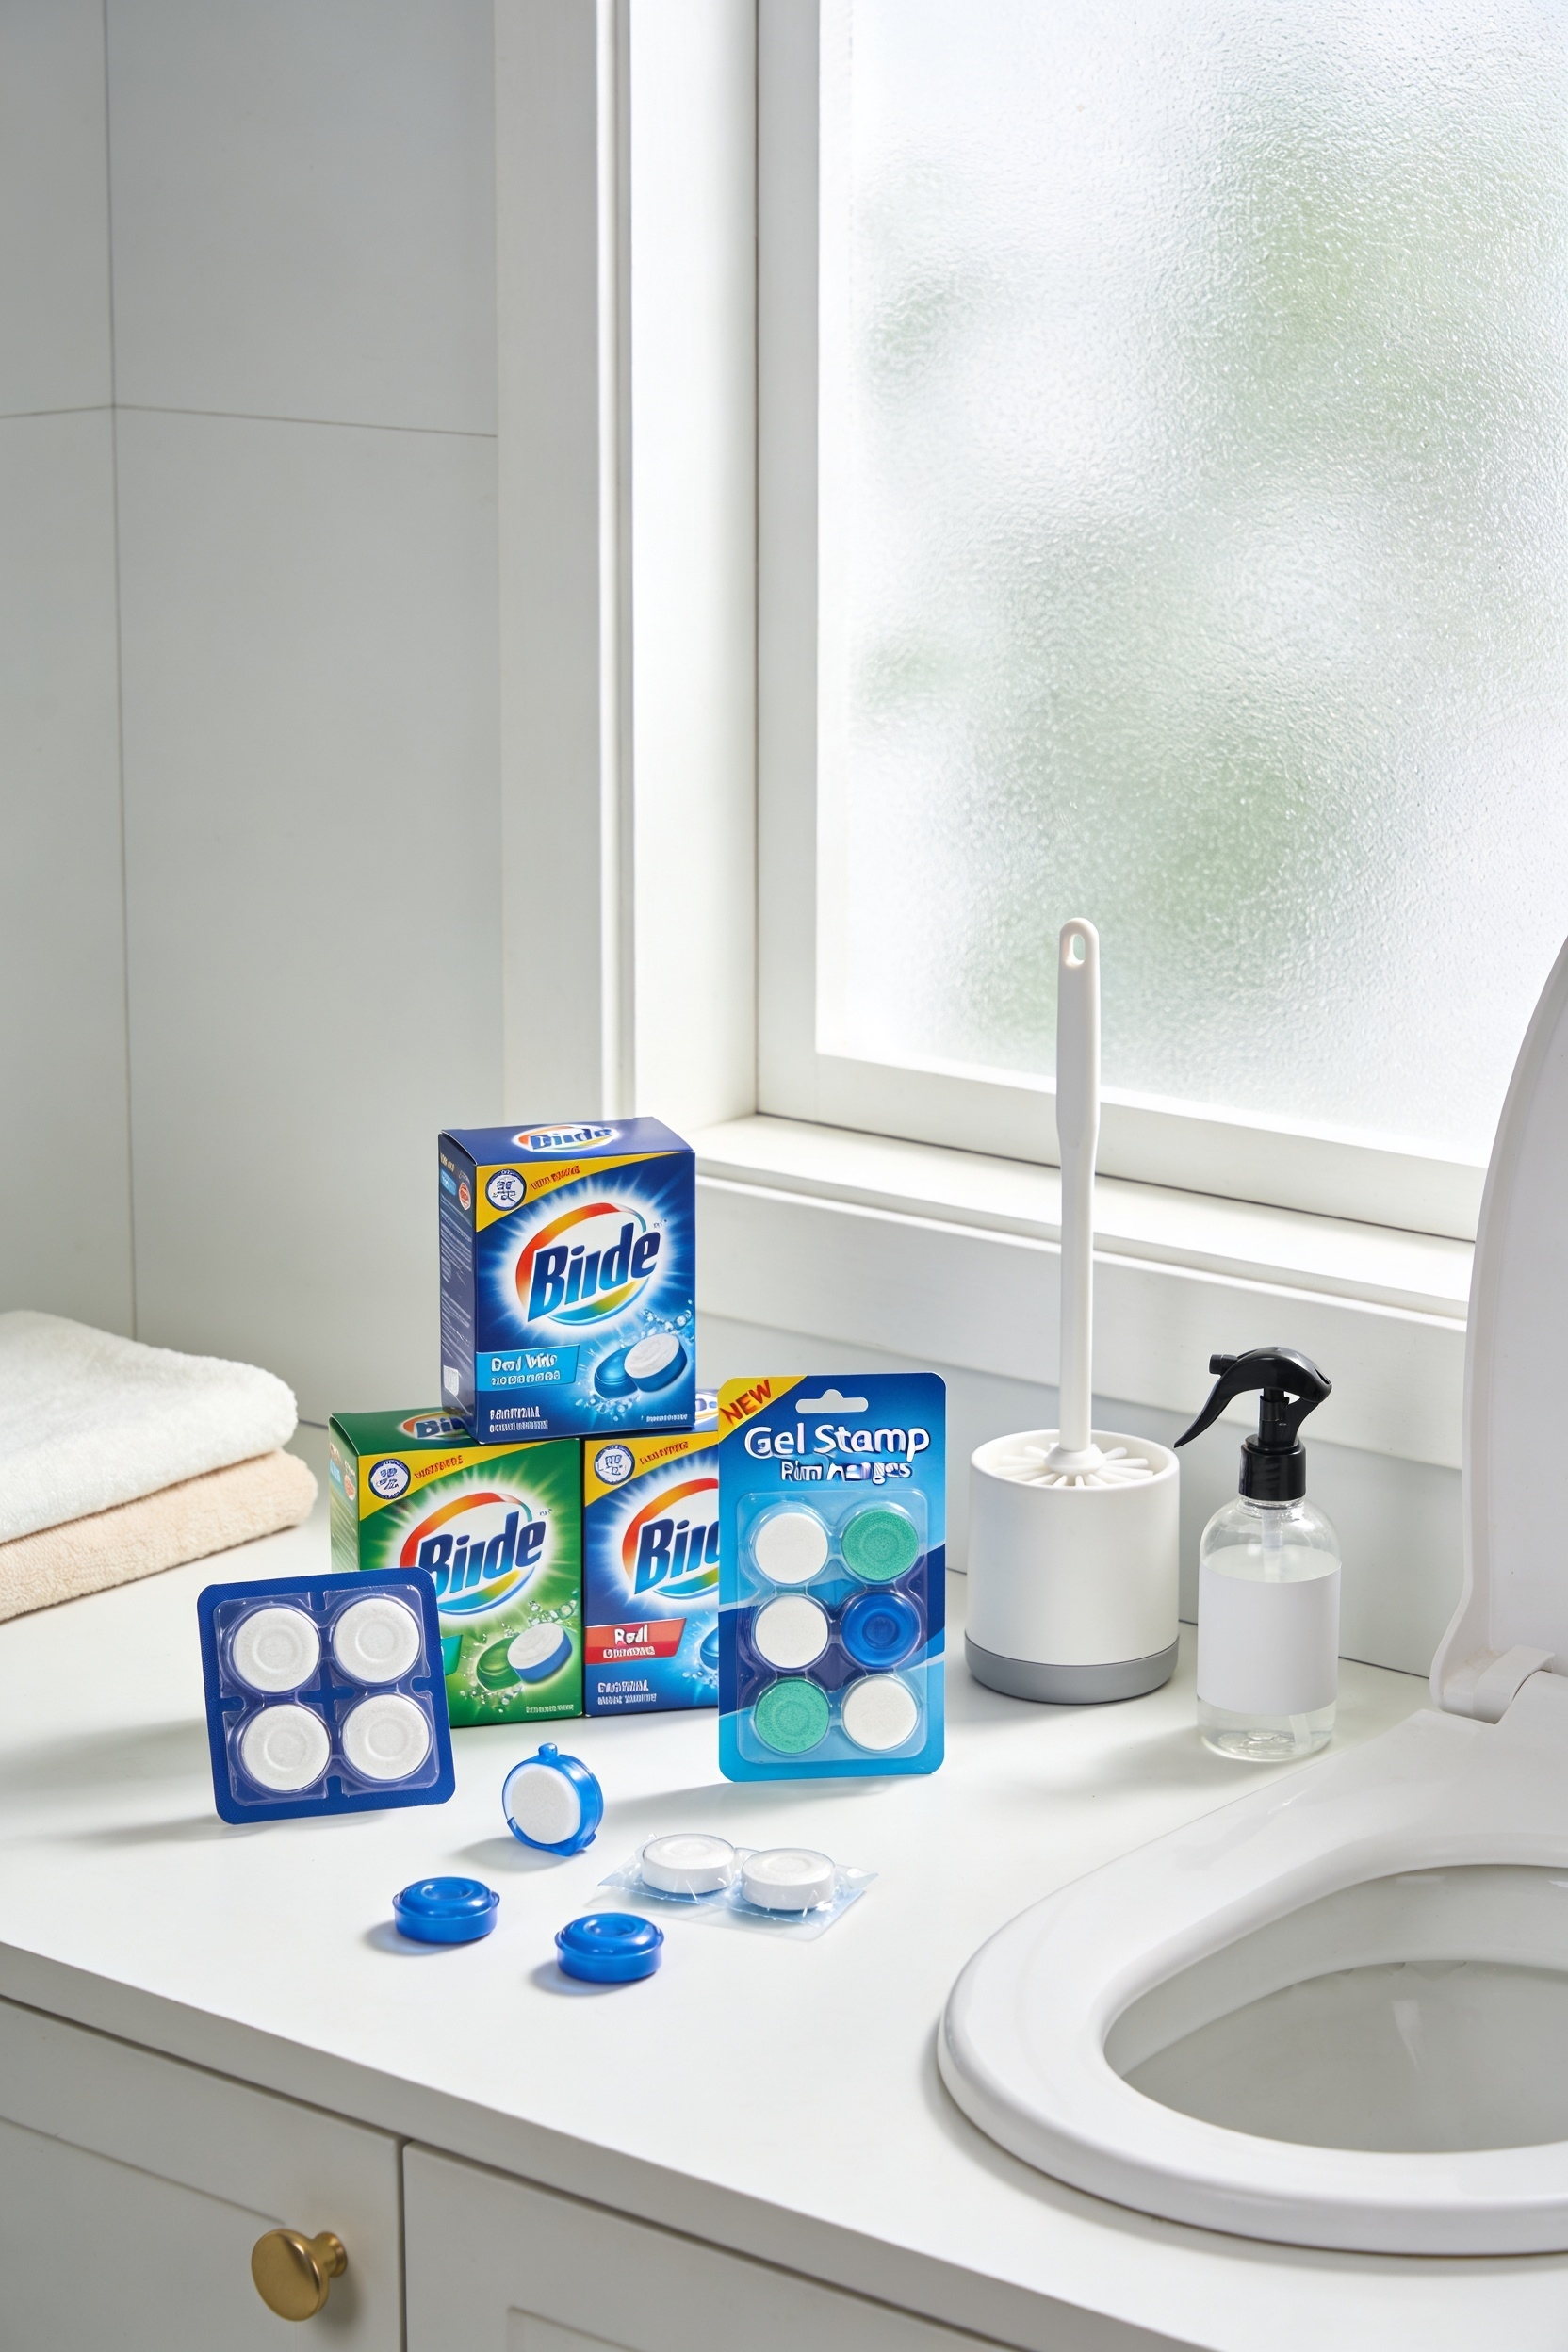
Apply Toilet Cleaner and Let It Sit 10–15 Minutes
Now that your toilet’s prepped and your supplies are staged, you’re actually ready to deploy the cleaner—and this is where most people get impatient and shoot themselves in the foot.
Here’s the thing: you’ve got to let that cleaner dwell for a full 10-15 minutes. I know it feels counterintuitive when you’re staring at a dirty bowl, but those active ingredients—usually bleach, hydrogen peroxide, or enzymatic compounds—need time to break down stains and kill germs. Rush it, and you’re basically just splashing expensive water around.
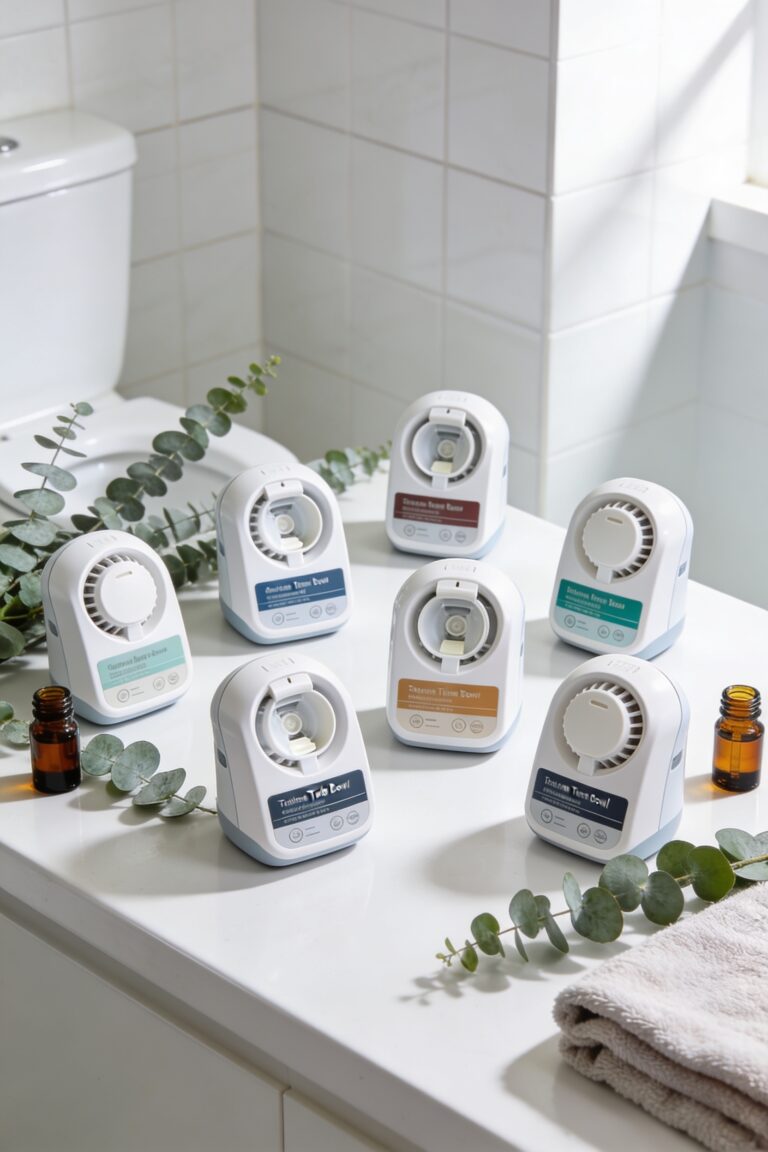
Beyond efficacy, scent selection matters too. Some cleaners are aggressively chemical, others naturally minty. Pick one you won’t hate smelling, because you’ll be standing there waiting anyway. Set a timer on your phone so you don’t forget. For tough stains that resist standard cleaners, consider using pumice stone or other manual abrasive tools after the chemical dwell time to tackle stubborn limescale and hard water rings.
Recommended Products

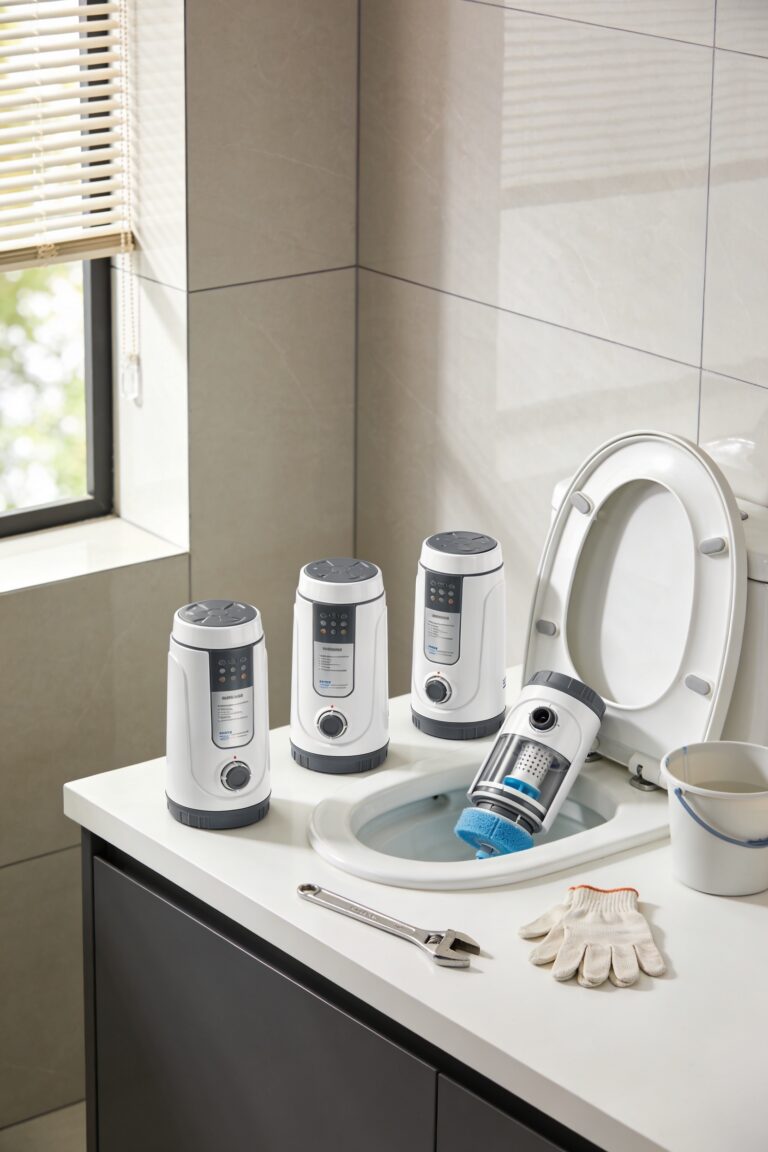
EFFECTIVE IN CLEANING - Effectively help you clean the tank, water pipe and other parts of the toilet.

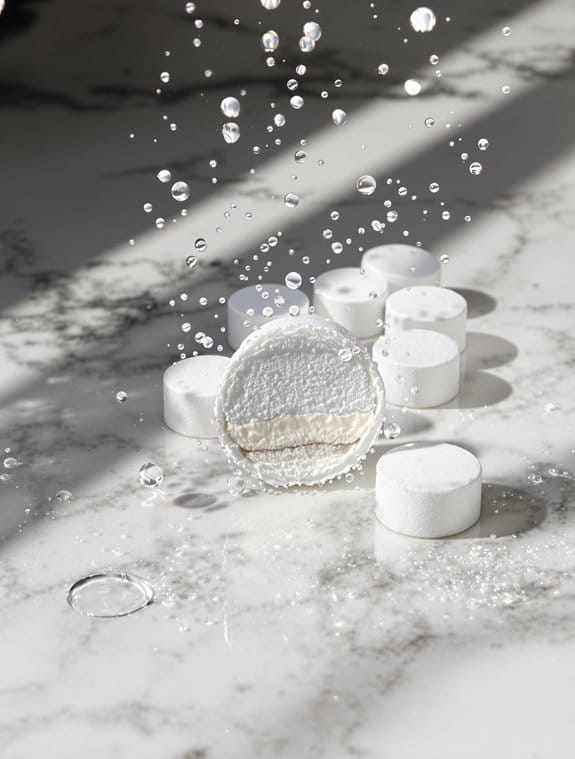
BLEACHING IS WHAT WE DO: Containing powerful bleaching ingredients, Vacplus toilet bowl cleaner tablets can efficiently remove stubborn stains such as urine dirt, limescale, and rust stains with every single flush. If you feel the smell of bleach every time, don't worry, it is the powerful cleaning ingredients functioning. Keeping your toilet bowl freshened is what Vacplus is doing!

[Natural Pumice Stone for Cleaning]---Pumice stone toilet bowl cleaner with long handle is made from stainless steel and plastic handle and 100% natural pumice.For long time use,be sure to rinse the pumice stone thoroughly and store it in a dry place until the next use.
Scrub the Bowl, Tank, and Exterior Thoroughly
Once that cleaner’s had its dwell time, you’re ready to actually do the work—and I’m not gonna sugarcoat it, this is where the elbow grease matters. I’m scrubbing under the rim first, then working down the sides in circular motions, really getting into that waterline where stains love to hide. The trapway and curved drain section need attention too; you’d be surprised what collects down there. For the tank and exterior, I’m hitting it with disinfectant spray and a microfiber cloth, paying special attention to hinges and edges. Good ventilation improvement happens naturally when you’re thorough here—moisture gets controlled better. Grout maintenance around the base matters more than people think; it prevents nasty buildup. Two-towel system: damp rinse, then dry buff everything. For stubborn mineral deposits and limescale that resist scrubbing, overnight exposure to your cleaner allows additional time for chemical action before manual effort.
Recommended Products

CURVED DESIGN SCRUBBER: The toilet bowl brush and holder has a specially S-shaped design that easily reach hard-to-clean areas, it can get up under the rim of the and down to the hole. The brush bristles are very flexible and long-lasting to and debris without hurting the glaze. It's ideal for keeping the bowl clean, that are suitable bathroom and restroom cleaning tools as new home and apartment essentials

【2 Pack Toilet Brush】The pack of 2 toilet bowl brush for Bathroom
FOR SMALL SPACE: HAMITOR toilet brush is designed specifically for bathroom where every inch counts. Our compact, space-saving brush tucks neatly next to any toilet, in a corner, or into a narrow cabinet. The sleek base and optional wall-mount keep it discreet and out of the way. Ideal for apartments, dorms, RVs, boats, and guest baths.
Disinfect All Surfaces and Touch Points
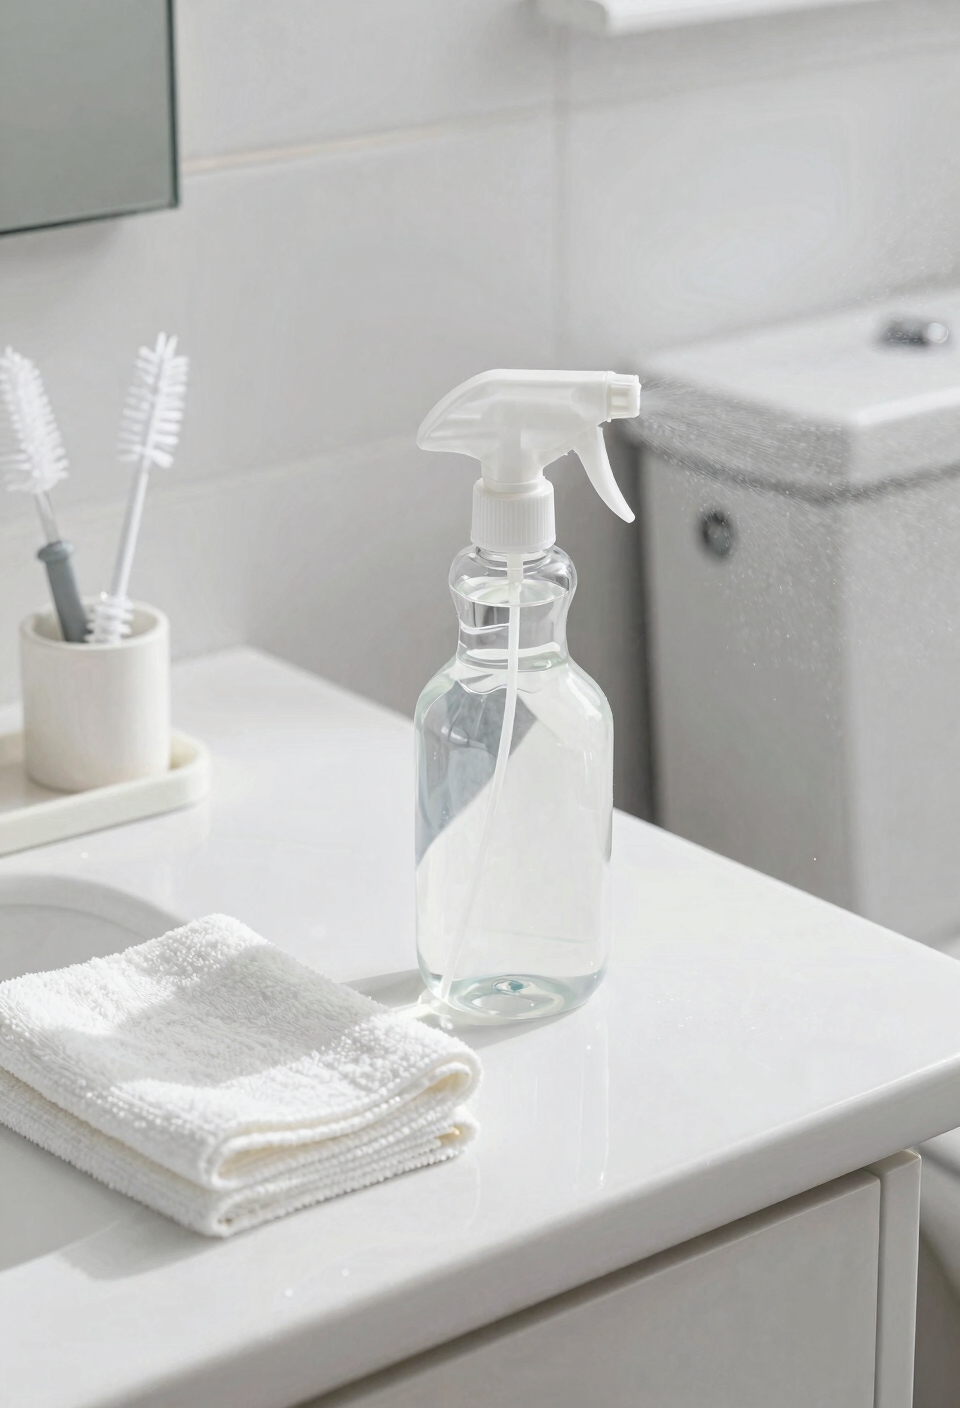
All right, you’ve scrubbed everything down and gotten the bulk of the grime out—now comes the part that actually kills what you can’t see, which, I’m sure you’ve noticed, is the whole reason bathrooms get that funky smell if you skip it. I spray an all-purpose bathroom disinfectant across every surface contactpoint—seat, lid, handle, tank, base—then let it sit five to ten minutes. That dwell time matters because the active ingredients actually need contact to work. I’m talking enzyme cleaners or legit disinfectants that target bacteria, not just mask odors. For tough stains that linger after disinfecting, consider using bleach-free formulas that kill 99.9% of bacteria while remaining safe for your septic system and plumbing. Don’t cheap out here. Once dry, I do germ mapping mentally: where do hands go? That’s your focus. Hit those spots again during your daily wipe-downs.
Recommended Products
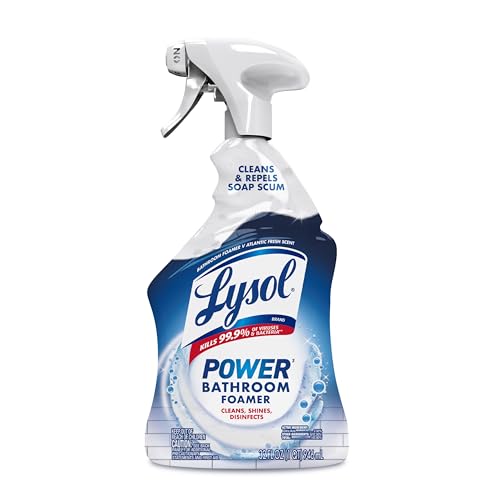
BATHROOM SPRAY: Add the power of Lysol to your bathroom cleaning supplies with our Power Bathroom Foamer; eliminates soap scum, limescale and everyday dirt and grime with no scrubbing; leaves your bathroom clean, brighter, and smelling Atlantic Fresh

BLEACH FREE DISINFECTANT: Clorox Disinfecting All Purpose Cleaner is formulated without bleach, but doesn’t compromise the cleaning power you need in your home

ALL PURPOSE CLEANER KILLS 99.9% OF VIRUSES and BACTERIA: Lysol All Purpose disinfectant spray kills 99.9% of viruses and bacteria including the COVID-19 virus to help keep your family protected
Tackle Hard Water Stains With Pumice or Enzyme Cleaners
If you’ve been staring at those brown or orange rings that won’t budge no matter how hard you scrub, you’re dealing with hard water stains—basically mineral deposits that’ve bonded to your porcelain like they own the place. I mean, your standard toilet brush isn’t going to cut it here.
Now, you’ve got two solid options. Pumice techniques work beautifully for hard water mineral removal, but honestly, you need a light touch or you’ll scratch the bowl. I prefer enzyme alternatives instead—they’re gentler and actually dissolve those stubborn deposits chemically rather than through brute force. Apply enzyme cleaner, let it sit for 15-20 minutes, then scrub gently. No porcelain damage, no frustration. It’s genuinely the smarter play. For those who prefer chemical solutions, citric acid formulas can effectively tackle mineral buildup with minimal scrubbing required.
Recommended Products

Clean surfaces quickly and easily-porcelain, hard water stains, pool tiles, flush toilets, barbecue grills, steel and stone.

【EFFICINET CLEANING】Laiyeoy pumice stone for toilet cleaning can easily and thoroughly clean the toilet, removing hard water stains and limescale, keeping your toilet clean and hygienic.

Functions: 100% natural pumice stick is used to clean calcium deposits, limescale and hard water rings on toilets, sinks, bathroom tiles and other ceramic surfaces.
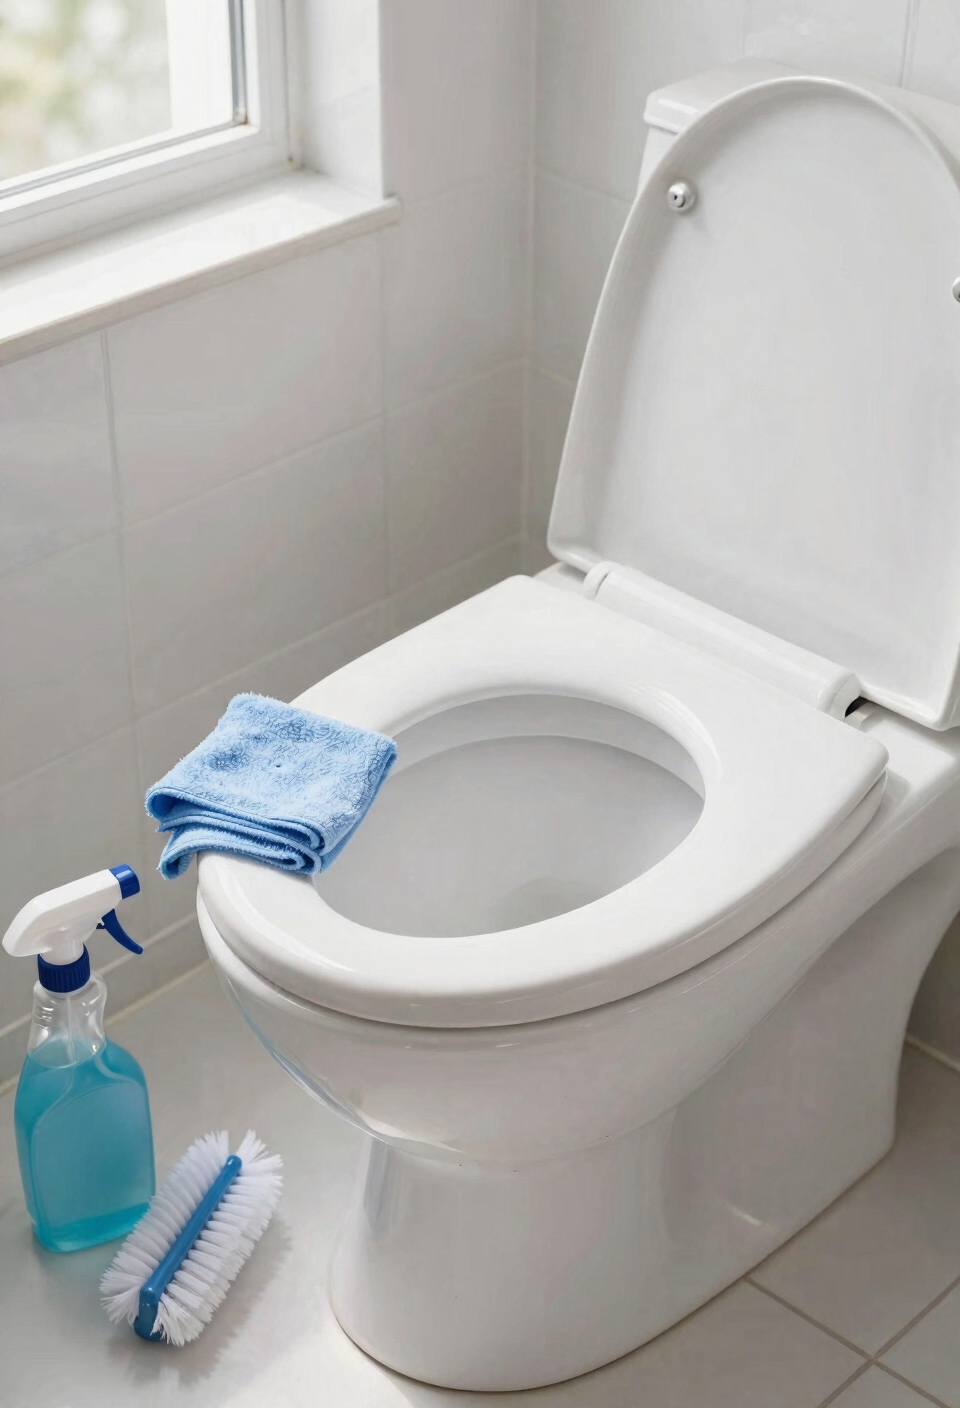
Keep Your Toilet Fresh With a 2–3 Minute Daily Routine
Here’s the thing—most people think toilet maintenance has to be this whole production, but honestly, you don’t need more than a couple minutes a day to keep things genuinely fresh. I’m sure you’ve noticed that quick checks make all the difference between a toilet that feels gross and one that actually feels clean.
Your minute maintenance routine is simple: flush after every use, hit the seat and handle with a disinfectant wipe, and do a visual inspection for anything funky. Keep your brush and spray within arm’s reach so you’re not making excuses when something needs attention. For stubborn stains that appear despite daily maintenance, consider using septic-safe enzyme cleaners to break down buildup without harsh chemicals. That’s it. Seriously, two or three minutes daily prevents the buildup that forces you into those brutal deep-cleaning sessions later. You stay ahead of the game instead of constantly playing catch-up.
Frequently Asked Questions
How Often Should I Replace My Toilet Brush to Maintain Cleaning Effectiveness?
I’d recommend replacing your toilet brush every 3-6 months to maintain peak cleaning effectiveness. This replace frequency guarantees your brush’s bristles stay firm and functional. Monitoring your brush’s lifespan helps you keep your toilet spotless consistently.
What’s the Best Way to Dry and Store Toilet Cleaning Tools After Use?
I spray my toilet brush with disinfectant, then pinch it between the seat to air dry completely. I store it in a hanging holder that allows proper ventilation, preventing mold and bacteria growth while keeping tools accessible.
Can I Use a Pumice Stone Safely on All Toilet Bowl Surfaces?
I wouldn’t use a pumice stone on all surfaces—it’s abrasive and can scratch porcelain. I’d only use it on hard water stains where pumice compatibility matters most. Your surface preservation depends on testing it first on inconspicuous areas.
How Long Should Disinfectant Sit on Surfaces for Optimal Germ-Killing Results?
Did you know 80% of infections spread through bathroom surfaces? I’d recommend letting disinfectant sit 5-10 minutes for ideal contact time. You’ll want to check surface compatibility first—some cleaners can damage finishes if left too long.
Is It Necessary to Turn off the Water Supply During Routine Toilet Cleaning?
No, I don’t turn off the water during routine cleaning. I only shut off the valve when I’m doing tank maintenance. Knowing your emergency shutoff location helps with water conservation and valve maintenance overall.
Conclusion
I’ve found that maintaining your porcelain throne needn’t be arduous—you’re really just sanitizing your most-visited room. You’ll notice that consistency beats intensity every time; a few minutes daily keeps those unpleasant surprises at bay far better than heroic weekend efforts. I’m confident you’ll appreciate how these straightforward steps transform your bathroom’s hygiene without demanding much from you, frankly.