As an Amazon Associate, we earn from qualifying purchases. Some links on this site are affiliate links at no extra cost to you. Our recommendations are based on thorough research and editorial judgment.

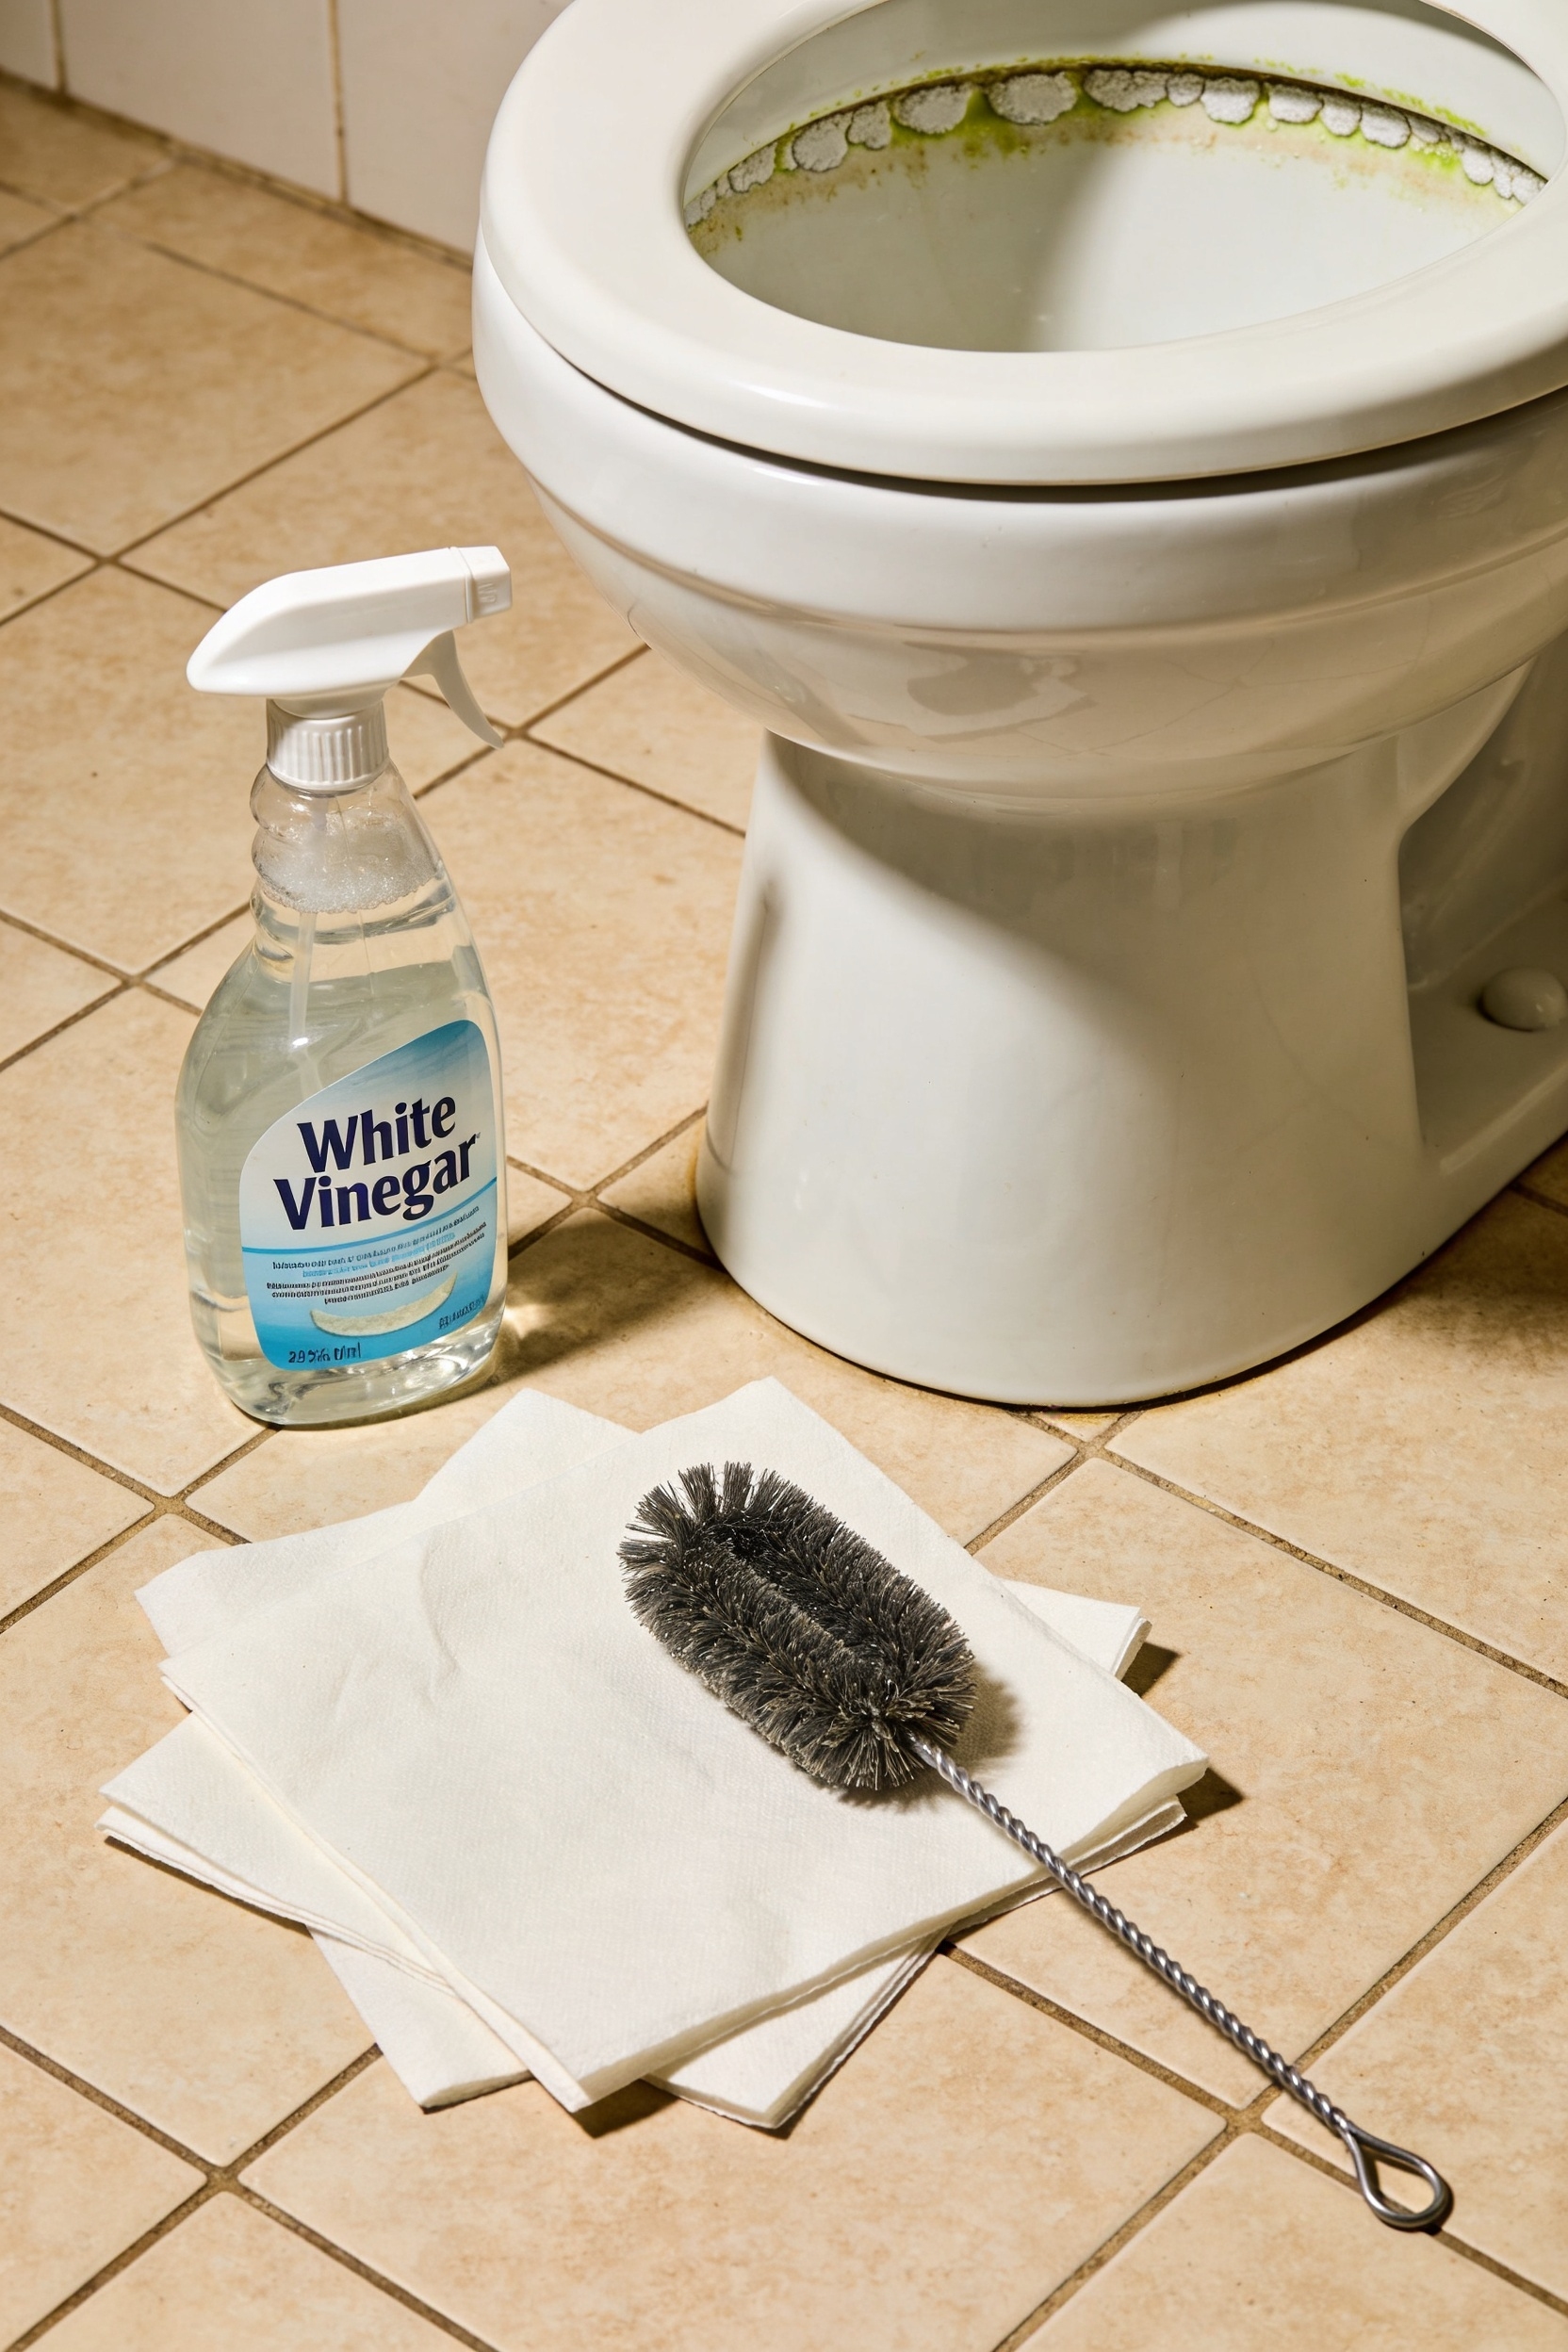
Remove Tough Toilet Limescale Using White Vinegar

I’m sure you’ve noticed that crusty, dingy ring around your toilet bowl—that’s limescale, basically calcium and magnesium deposits that vinegar‘s acetic acid actually dissolves pretty well. You’ll drain the bowl completely, pour in vinegar (diluted or straight, depending on how gnarly it is), let it sit overnight, then scrub with a brush or pumice stone. Honestly, it works without trashing your porcelain like harsher chemicals do. But here’s the thing: some stains are stubborn enough that vinegar alone won’t cut it, and that’s exactly where you might need to know what actually will.
Key Takeaways
- Drain the toilet bowl completely to maximize contact between vinegar solution and limescale deposits.
- Soak with half-and-half vinegar-water mixture for two hours minimum; overnight soaking yields better results.
- Apply undiluted white vinegar and use a pumice stone or stiff brush after soaking.
- Mix vinegar with citric acid powder into paste for stubborn stains; let sit overnight.
- Rinse thoroughly multiple times to remove all acid residue and prevent mineral redeposition.
Why White Vinegar Dissolves Toilet Limescale
Look, I’m sure you’ve noticed that crusty ring around your toilet bowl or those stubborn deposits clinging to your faucets—basically, hard water doing what hard water does best, which is making everything look grimy and aged before its time. Here’s the thing: white vinegar‘s got acetic chemistry working in your favor. It’s acidic enough to dissolve those mineral deposits without torching your porcelain or your wallet. The acidity literally breaks down limescale’s mineral composition through a process called mineral dissolution, effectively convincing calcium and magnesium buildup to pack it in. You’re not blasting away with harsh chemicals—you’re using a mild acid that eats through deposits like they’re nothing. If you’re dealing with severe stains, commercial cleaners like Zep Acidic Toilet Bowl Cleaner use stronger formulations with hydrochloric acid that work similarly but more aggressively. That’s why vinegar’s genuinely your friend here.
What You Need: The Complete Cleaning Kit
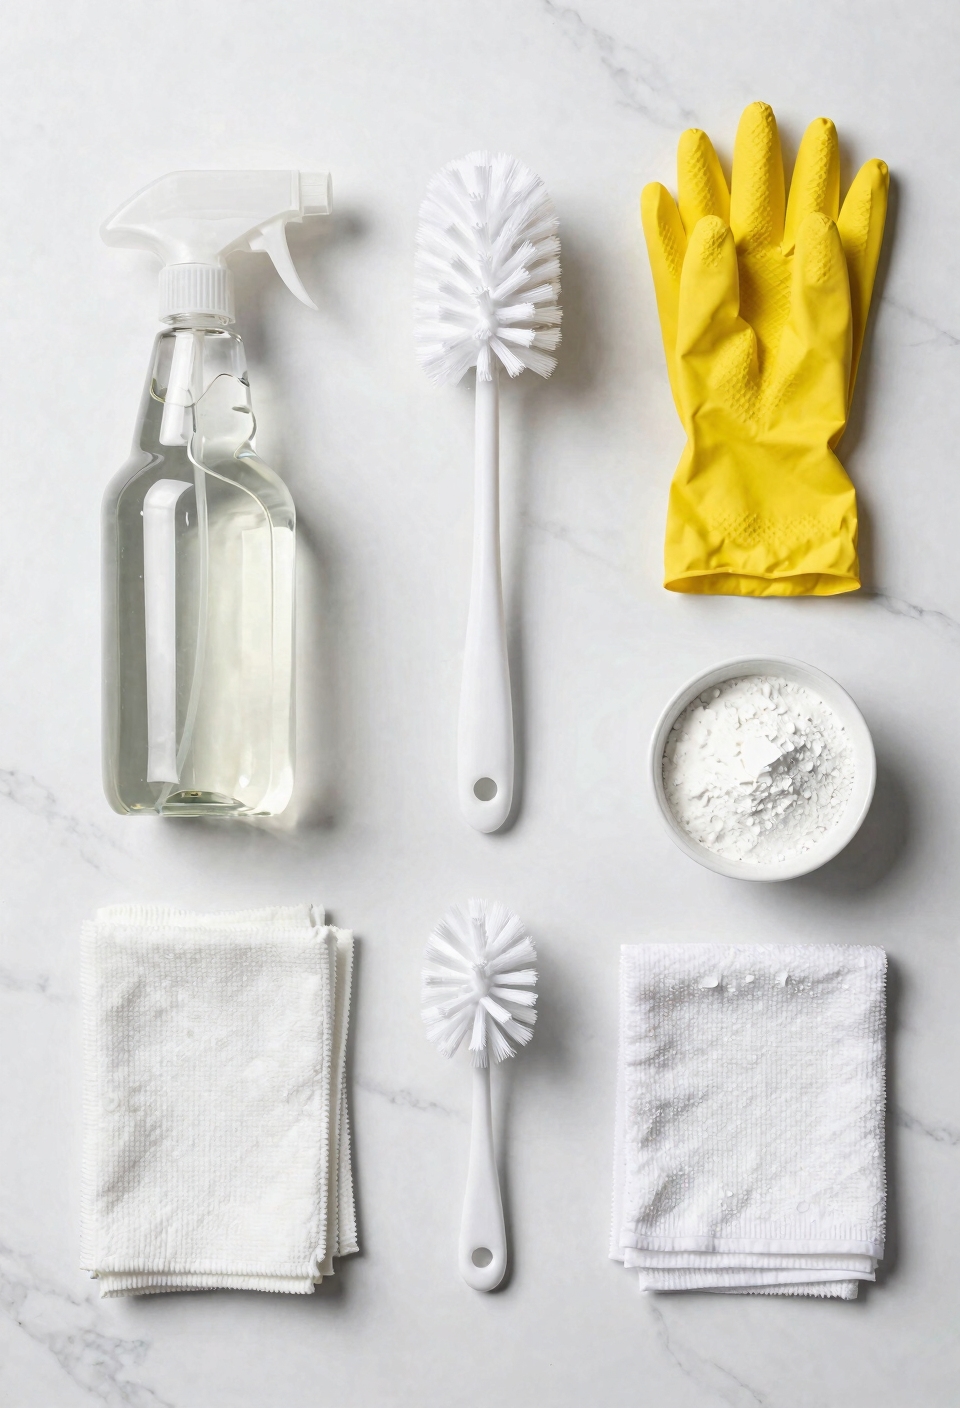
Now that you’ve got the chemistry down—that white vinegar’s basically your acidic weapon against mineral deposits—let’s talk about what you’re actually going to need sitting in your cleaning arsenal before you start this whole operation.
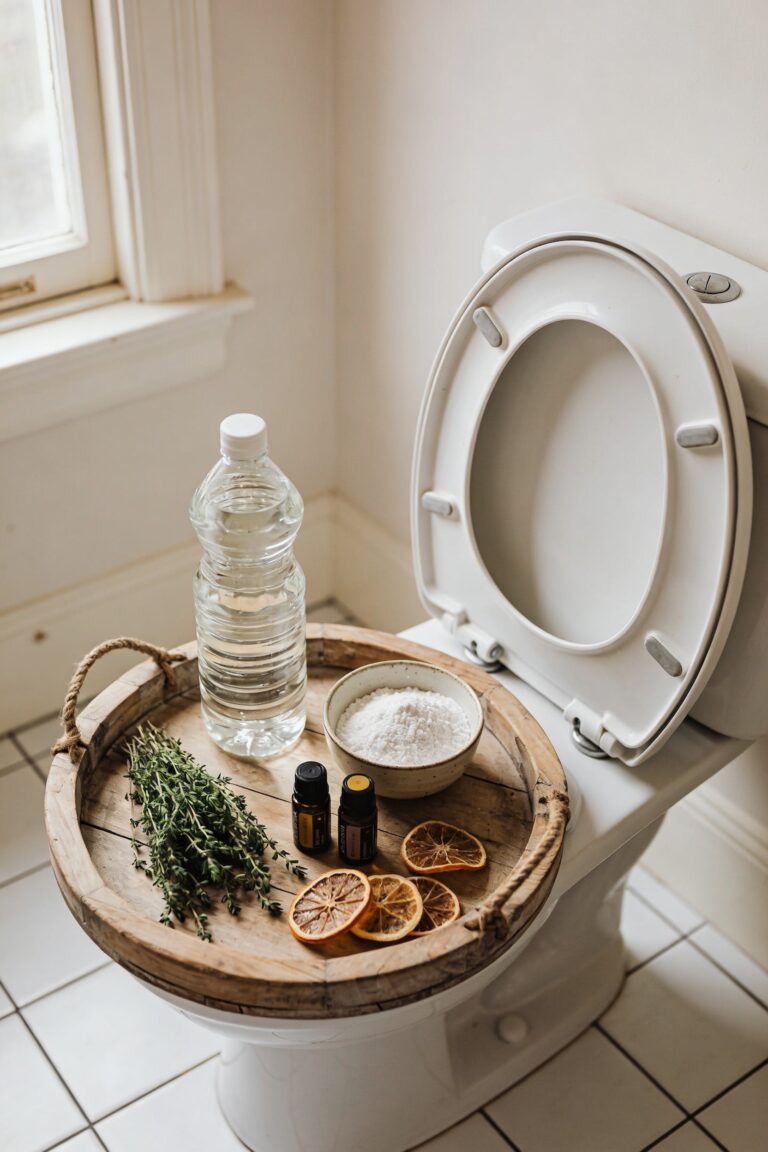
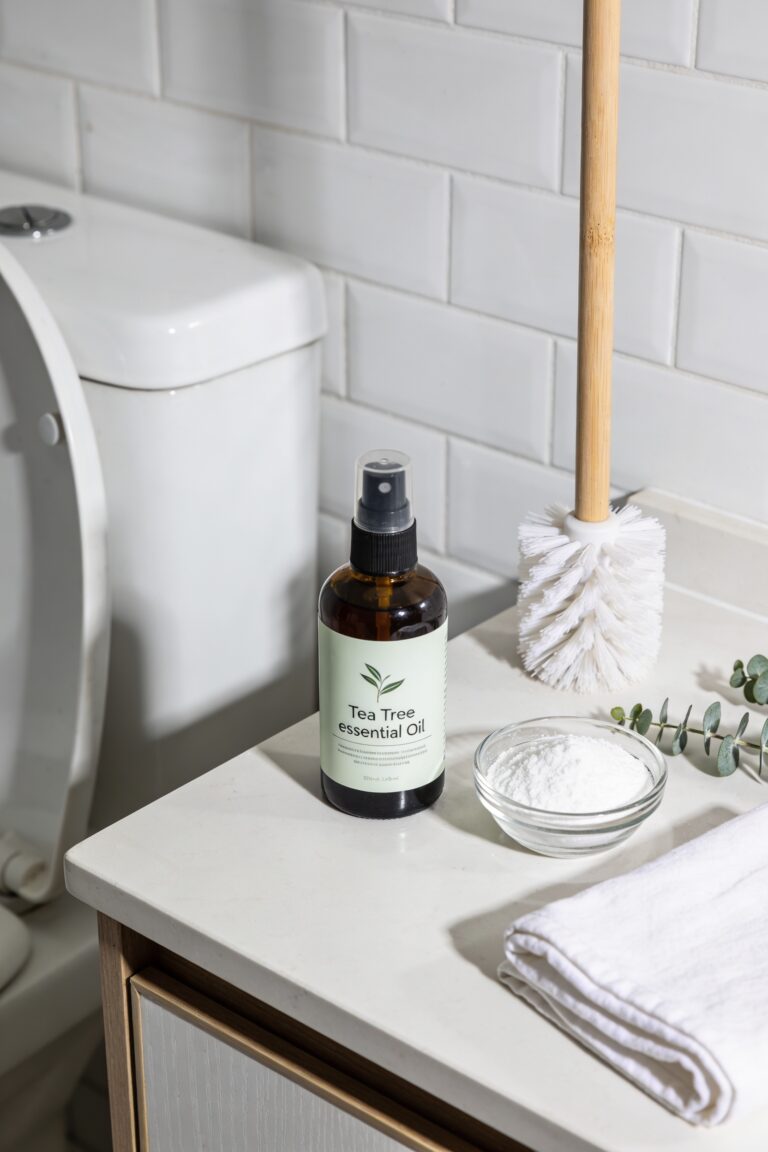
First, grab a spray bottle for your half-vinegar, half-water mixture. You’ll want microfiber gloves to protect your hands during the scrubbing phase—trust me, repeated vinegar exposure gets old fast. A storage container keeps your solution ready between sessions. Obviously you need a toilet brush, but honestly, a toothbrush handles the tight spots way better. Pick up a pumice stone for stubborn buildup and maybe some essential oils if you’re worried about the smell. For severe hard water buildup, consider pairing your vinegar solution with concentrated citric acid powders to boost effectiveness. That’s genuinely it. Nothing fancy required.
Recommended Products

Everbrite will restore the color and luster of faded aluminum, window frames, pool cages, siding, patio furniture, yard art, painted metal ... you name it.

Technical Specs - Bb brass clear-lacquer STANDARD trumpet, 0.459” medium-large bore, 5" two-piece brass bell, 1st slide thumb hook, adjustable valve slide throw ring with slide lock screw, ROSE BRASS standard taper leadpipe, stainless steel pistons, 7C SILVER-PLATED mouthpiece, standard medium weight body (the trumpet itself is 2.43 lbs). Supplied with a durable lightweight case with backpack & shoulder straps.

Professional-Grade Cleaning Made Simple Introducing the Waitbird Multipurpose Steam Cleaner—Engineered for deep cleaning in homes and vehicles. By heating ordinary water to over 248°F, it efficiently and naturally cleans all surfaces, replacing harsh chemicals with pure, effective vapor.
Prep Your Toilet: Drain and Position for Success
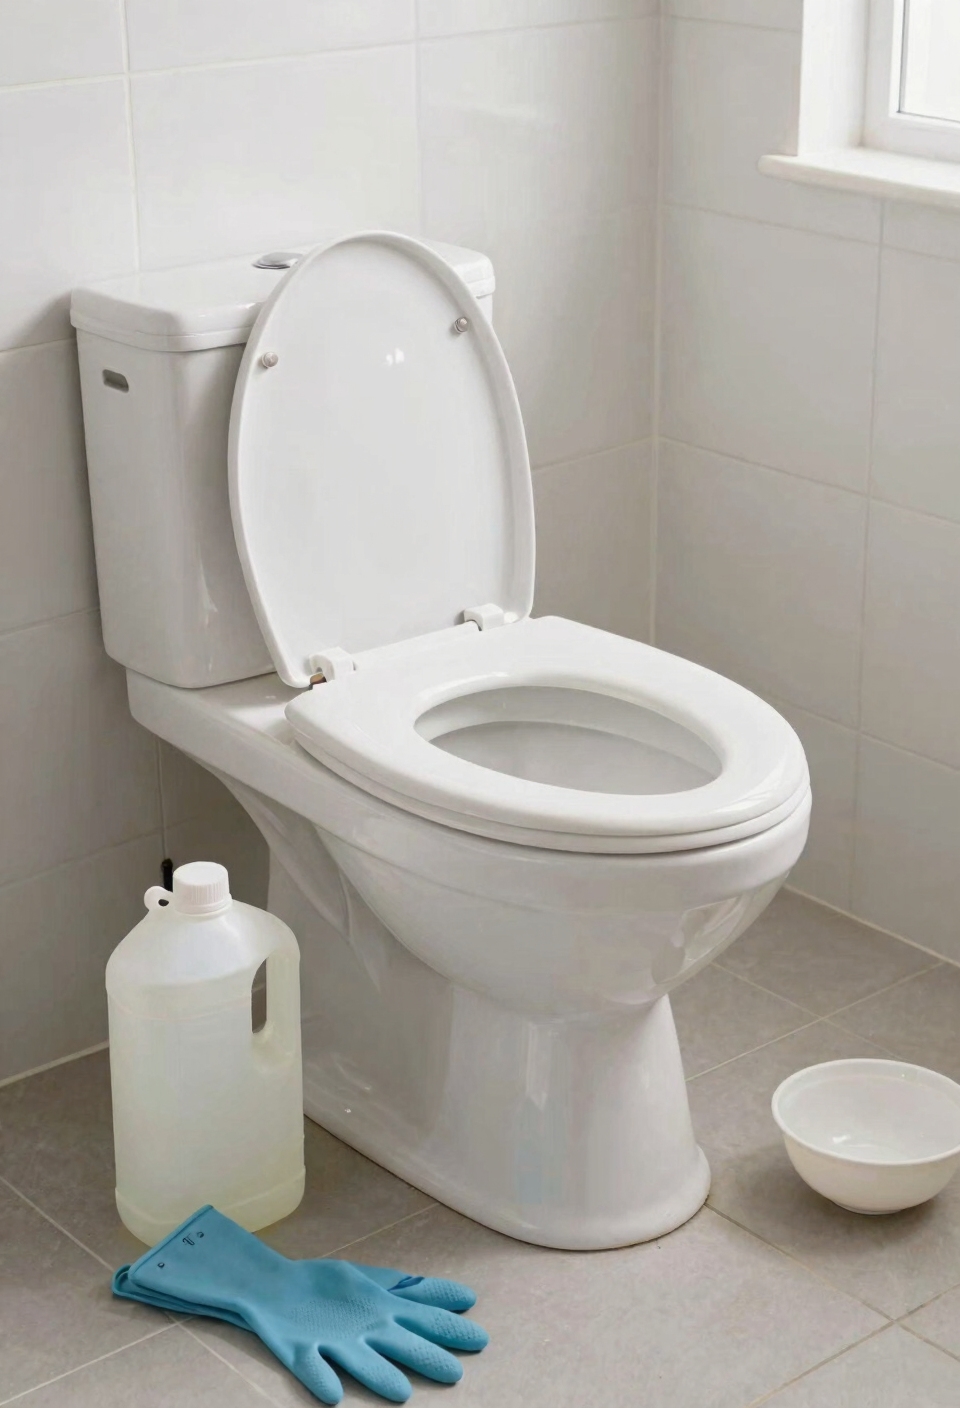
Before you start pouring vinegar into your toilet bowl like you’re conducting some kind of science experiment, you’ve got to drain the thing first—and I mean actually drain it, not just flush once and hope for the best. I’m sure you’ve noticed that water removal makes your vinegar solution way more potent, right? Here’s the deal: grab a plunger or a wet/dry vacuum and get that bowl empty. You want maximum contact between the vinegar and those crusty limescale deposits, not dilution happening while you’re standing there. For toilet positioning, angle yourself so you can actually see what you’re working with. Honestly, this prep step takes maybe five minutes but saves you hours of scrubbing later. Just drain it completely and you’re golden. Pre-installation bowl cleaning is recommended to create the best foundation for any toilet maintenance treatment, whether you’re using vinegar or automatic cleaners.
Recommended Products

Warranty Coverage: Comprehensive product protection with 10 year warranty for your peace of mind

SMART VACUUM & MOP TWO-IN-ONE – Clean wet or dry messes and tackle tough and sticky messes on hard floors with ease. Featuring Tineco’s proprietary iLoop Smart Sensor Technology, it automatically adjusts suction, water flow, and brush roller speed to clean any and all messes.

[Premium Quality Carpet]: This outdoor runner rug is derived from 100% virgin polypropylene, along with heat-treated edge to avoid fraying, prevent edges warping, soft and durable, low-maintenance. The breathable material will not scratch your floor, that ensures the color will not fade easily even in sun.
Master the Basic Vinegar Soak
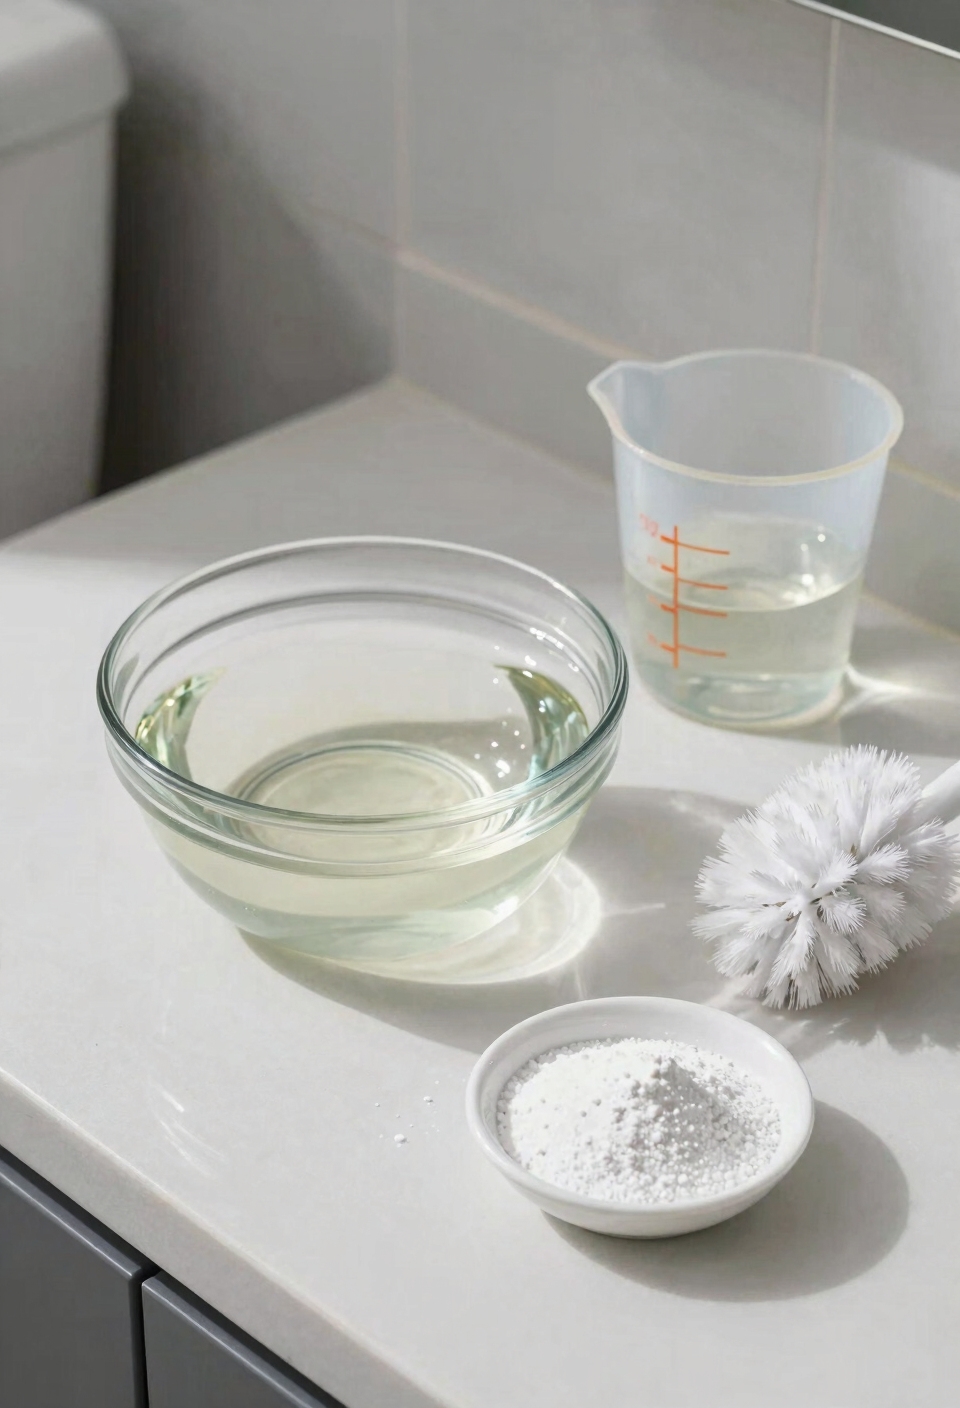
Once your toilet’s drained and you’ve got a clear view of the bowl, you’re ready to pour in your vinegar solution—and this is where patience becomes your best friend. I’m talking about that half-and-half mixture you’ve prepped: standard white vinegar at 5-6% acidity mixed with water. Pour it generously around the bowl, getting underneath the rim where limescale loves to hide. Now comes the hard part—waiting. Let it sit for at least two hours, though honestly, I prefer leaving it overnight. The longer soaking duration means that vinegar concentration gets to work dissolving those mineral deposits properly. Obviously you could scrub immediately, but you’ll just exhaust yourself. Give the acid time to soften everything up first, and you’ll thank me later. Unlike chemical cleaners that may require only 5-15 minutes, vinegar’s gentler formulation benefits from extended dwell time to achieve optimal results on stubborn calcium deposits and hard water stains.
Go Deep: Overnight Soaking for Heavy Buildup
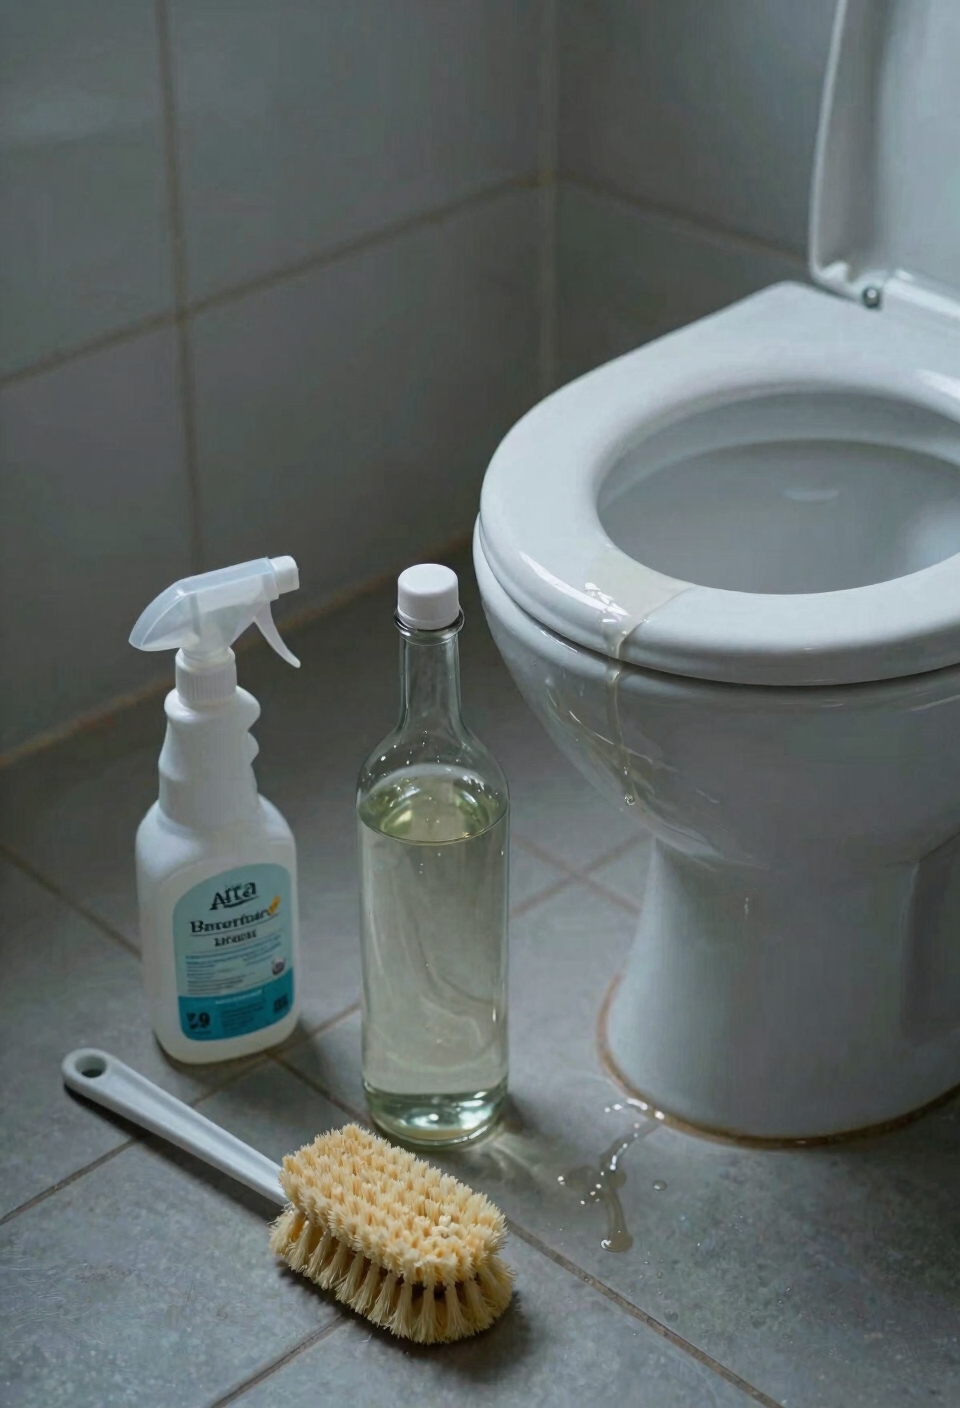
If you’re staring at a toilet bowl that looks like it’s been hosting a mineral convention for the past five years, the basic two-hour soak isn’t going to cut it—you need to go nuclear, and by nuclear I mean you need to let that vinegar do its thing while you sleep.
Here’s what I’m talking about: overnight immersion with extended dwelltime transforms that crusty limescale into something actually manageable. Drain the bowl first, then pour undiluted white vinegar around the waterline where that ring of deposits lives. For sealed wrapping action on particularly gnarly buildup, soak a cloth in vinegar and drape it over the worst spots. This concentrated application lets the acid work for eight to twelve hours, breaking down minerals way deeper than you’d get otherwise. Come morning, that formerly impossible crust basically crumbles under a brush. For even more stubborn mineral deposits, consider combining mechanical tools like a toilet brush with your acid-based treatment for thorough results.
Scrub Away Stubborn Deposits Post-Soak
All right, now that you’ve let that vinegar work its magic overnight, you’re looking at deposits that have gone from “basically cemented in place” to “actually vulnerable”—and that’s when the real cleaning happens. Grab protective gloves and a stiff-bristled brush or pumice stone, then scrub that waterline where limescale loves to hang out. You’ll feel the difference immediately—those crusty rings start breaking apart instead of laughing at your efforts. For really stubborn spots, enzymatic cleaners paired with your vinegar work surprisingly well together, attacking deposits from different angles. I mean, there’s something satisfying about watching that buildup actually surrender. Rinse everything thoroughly afterward, because you don’t want residual cleaner sitting around. For maximum effectiveness, consider using pumice stones which remove stubborn stains and limescale without scratching most porcelain surfaces.
Double Down: Vinegar Plus Citric Acid for Tough Stains
When vinegar alone hits a wall—and I mean literally hits a wall of mineral deposits that’ve basically fossilized themselves to your toilet bowl—citric acid jumps in like a tag-team partner with a completely different strategy. Here’s the thing: you’re leveraging acidic synergy when you combine them. Vinegar softens those crusty layers, then citric acid penetrates deeper, targeting the mineral structure itself. I’m sure you’ve noticed how some stains just laugh at single-weapon approaches. This combo creates crystal restoration on a molecular level—it’s genuinely your best shot at stubborn buildup that’s survived everything else. Mix equal parts white vinegar and citric acid powder into a paste, apply it directly, let it sit overnight, then scrub. You’ll be shocked at what comes loose. For hard water stains that resist even this powerful combination, consider EPA Safer Choice certified products formulated specifically to handle mineral deposits and rust buildup.
Recommended Products

Quickly Removes Rust, Dissolves Organic Stains And Cleans Hard Water Residue

ALL-NATURAL, FOOD-GRADE, FINE-GRAIN POWDER: Roots Circle citric acid is one of Mother Nature’s greatest gifts. Kosher, non-GMO and naturally gluten-free, it’s ready to be mixed into food, added to your detergents, or used as a base for many household products.

Pure Original Ingredients Citric Acid is a natural food preservative & enhancer
Rinse Thoroughly and Lock in Prevention
Now here’s where most people drop the ball—they scrub away that nasty limescale, feel victorious, rinse once, and then act shocked when the buildup comes roaring back in three weeks like it never left. I’m sure you’ve noticed this pattern yourself.
Your rinse practices matter more than you’d think. After that vinegar soak, I’m talking thorough rinsing with plain water—multiple passes, not some halfhearted splash. You want every trace of vinegar gone, because leftover acid actually accelerates new mineral deposits.
Now for prevention rituals: spray your toilet weekly with diluted vinegar. It’s boring, sure, but this regular maintenance keeps limescale from taking root again. Think of it like brushing teeth versus root canals. One takes thirty seconds; the other ruins your weekend. For those seeking a hands-off approach, continuous-action toilet cleaners with sustained-release technology can maintain bowl cleanliness between your manual vinegar treatments and reduce the frequency of buildup.
Spot the Signs You Need Commercial Cleaners Instead
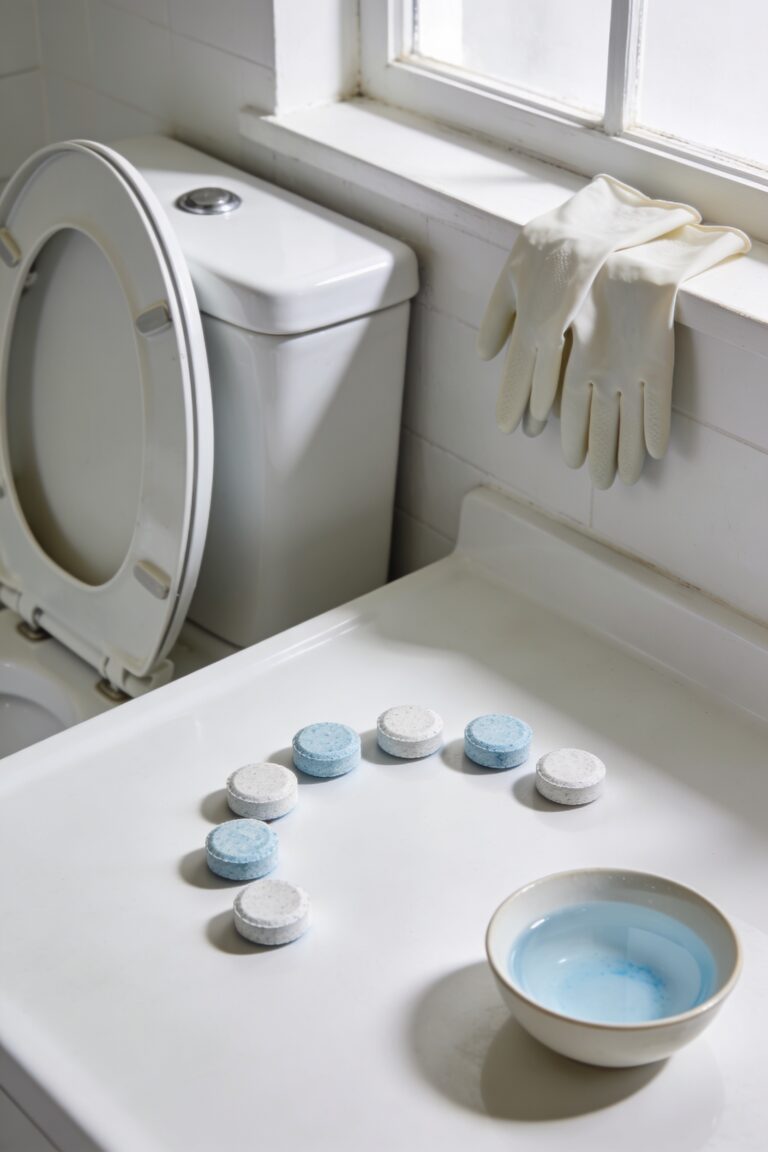
Sometimes your white vinegar solution hits different limits than you’d expect, and that’s when you’ve got to know when to wave the white flag and call in the pros. If you’re dealing with stubborn stains that vinegar won’t budge after multiple soakings, or you’re noticing rust streaks and mineral deposits that seem almost permanent, that’s your sign. I mean, heavy mold growth or persistent odors that even boiled vinegar can’t tackle? That’s potentially a health hazard worth taking seriously. For tough limescale and hard water stains that resist natural cleaners, septic-safe toilet tablets with slow-release formulas can provide the extra cleaning power needed when vinegar falls short. And obviously, if you suspect structural damage or need professional restoration of your toilet’s internal components, you’re past the DIY stage. Sometimes the smartest move isn’t trying harder—it’s recognizing when you need actual experts handling it.
Recommended Products

Crystal Clear: Our Rx Clear Chlorine is composed of 90% available chlorine, minimizing odors and skin irritation while eliminating algae growth and bacteria from your swimming pool. 1200 Pounds / 544.31 kg

Stop Septic Problems with Just one Flush: Use DrainFix monthly for proactive system maintenance or as a shock treatment as sewer and septic tank cleaner and toilet unclogger. Just one all natural formula for complete septic and drain maintenance.

Weekly Habits That Keep Limescale Away
I’ll be straight with you—the best limescale strategy isn’t actually about scrubbing harder when buildup shows up, it’s about keeping it from getting that bad in the first place, and that means establishing a few dead simple weekly habits that genuinely stick. Daily wiping is your secret weapon here. After you use the toilet, just grab a cloth and wipe down the bowl’s waterline where limescale loves to camp out. Takes thirty seconds, prevents months of crusty buildup. Then do a monthly descale with your vinegar solution—pour it in, let it sit a few hours, give it a quick scrub. For best results, pair your vinegar routine with a sturdy toilet brush featuring dense bristles designed to reach under the rim where mineral deposits accumulate. You’re not fighting nature; you’re just staying ahead of it. That’s the whole game.
Recommended Products

More Kit Options: Our bulk hygiene supplies come in packs of 100 kits. Each bulk hygiene kit includes: - Individually wrapped travel toothbrush - 25g travel toothpaste - Individually wrapped comb - 30ml tube of travel shampoo - 15g bar of soap - 5 individually wrapped floss picks - Toothbrush case This makes travel or home use more convenient and comfortable.

Stylish Design for Bathroom Elegance: The Zone Denmark Nova One Toilet Brush is a statement of chic design, featuring a soft-touch coating that adds a touch of elegance to your bathroom. Beyond its functional role, this brush is a stylish accessory that seamlessly blends with modern decor, enhancing the overall aesthetic appeal of your bathroom.

3.3" diameter x 19.3" height / 8.5cm x 49cm
Frequently Asked Questions
Can I Use Regular White Vinegar From the Kitchen, or Must I Buy Cleaning Vinegar?
You can use regular kitchen white vinegar for toilet limescale removal. I’d recommend distilled white vinegar since it’s specifically recommended for cleaning, though standard kitchen vinegar works—it’s just not optimized for cleaning strength.
Is It Safe to Mix Vinegar With Other Cleaning Products in the Toilet Bowl?
I’d love to tell you mixing works great, but honestly, don’t. Vinegar plus other cleaners creates dangerous chemical reactions. I’m urging you: take safety precautions seriously and use vinegar alone in your toilet bowl.
How Often Should I Repeat the Vinegar Soak to Prevent Limescale Buildup Permanently?
I’d recommend weekly maintenance with a quick vinegar soak to prevent buildup, then do seasonal deep cleaning for tougher deposits. Regular use stops limescale from accumulating permanently on your toilet bowl.
Will Vinegar Damage the Rubber Seals or Internal Components of My Toilet?
An ounce of prevention’s worth a pound of cure. I’ll tell you straight—vinegar won’t damage your toilet’s rubber seals. There’s no rubber degradation or seal swelling risk; it’s gentle enough for regular use without harming internal components.
What’s the Difference Between Distilled White Vinegar and Apple Cider Vinegar for Cleaning?
I’d recommend distilled white vinegar for cleaning because it’s produced through distillation, not fermentation like apple cider vinegar. Both have similar acidity levels around 5%, but distilled white vinegar’s purity and neutral pH make it safer for surfaces and won’t leave residue.
Conclusion
Look, I tested whether vinegar *actually* dissolves limescale or just masks it—turns out the acetic acid genuinely eats through calcium deposits. You’re not fooling yourself here. Weekly vinegar soaks keep buildup from happening in the first place, which beats scrubbing rock-hard stains later. I’m sold on prevention. It’s cheap, safe around kids, and honestly, beats anything commercial I’ve tried.